Guest Blog Post: Paulette of ”Cooking up a Storm All over the World”
Cooking up a Storm All over the World logo
Cooking up a Storm All over the World is the creation of Paulette Motzko, and her site offers her own recipes, members recipes, photos of her favorite and members favorite creations, it has a cooking discussion forum, videos that teach how to cook, kids in the kitchen, quotes and prose, and much more! I encourage you to check out her wonderful foodie community web site!
Paulette of ”Cooking up a Storm All over the World”
Follow me on Twitter & Facebook: Search “Polly Motzko”
The Guest Post and Recipe
I really hope that you enjoy this article as much as I was honored to write it!
If you have not joined my blog you just go here and fill out the few questions I created so you can meet others who love cooking and entertaining and making others smile with food!
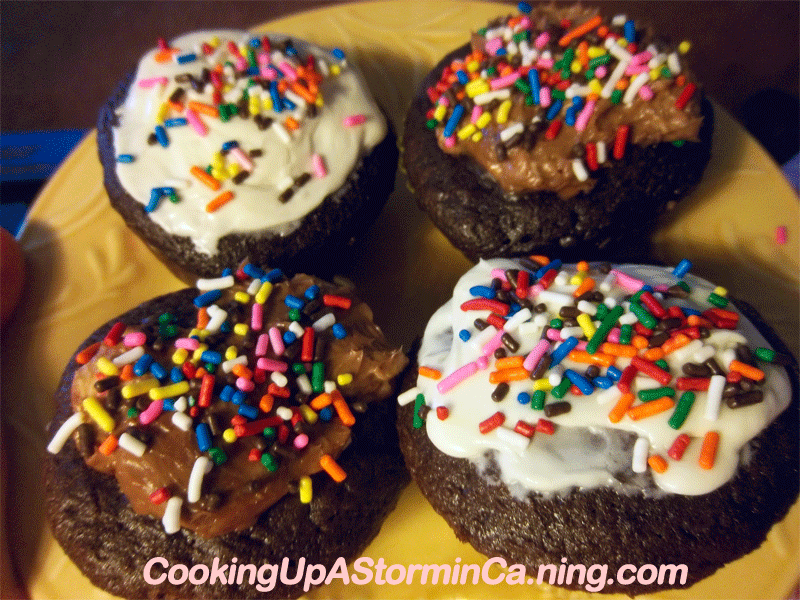
Devil’s Food Cupcakes with Nutella & Cream Cheese Filling Created by Polly Motzko, Valentine’s Day, 2/14/2011
1 Betty Crocker Super Moist Devil’s Food Cake Mix
Icing of your choice: Vanilla, Cream Cheese or Chocolate Frosting or Betty Crocker White or Cream Cheese Frosting
2 teaspoons high quality almond extract like Savory Spices or other pure almond extract
(Almond and chocolate go together like a really good marriage and this intensifies the chocolate flavor.)
1-1/3 cups Water
3 Eggs
½ cup vegetable oil
Filling:
8 oz cream cheese
4 tablespoons Nutella Hazelnut Spread
The concept for these luscious cupcakes was created when I bought the pan for them that is made by Nordic Ware-at Target. I could picture the filling and how it would be done etc…and was only a matter of time to make them for Valentine’s Day. You can make these for your Valentine and those you love ANY day of the week though and any time of the year.
NOTE: There will be more filling left over for more than these 24 cup cakes. You can save it in the fridge and make others in other flavors if you like. I rarely buy cream cheese and had no other use for it other than making this very rich but GOOD filling. You could make another kind of cup cake like vanilla or white cake and fill with this too, and it would be really lovely.
If you want to use your favorite chocolate cupcake recipe in place of the cake mix, you are more than welcome. This doubles well and you can make them and freeze them if you like. If you loved this recipe, by all means join my blog called “Cooking up a Storm All Over The world!” at:http://CookingUpAStorminCa.ning.com and tell me where you heard about my blog. If you made this recipe, then post your pictures of it there too.
METHOD 1 – You can add a melon ball full of the filling to each cupcake before baking, just fill the cupcakes slightly less full and add a dollop of the filling then cover with more batter. (If you make cupcakes and bake all the time, you might want to invest in one of these Nordic Ware Batter dispensers like I got. I love it and it works really great, without spilling batter all over the place!
METHOD 2 – Put the cream cheese Nutella filling in your fridge for a few hours until not quite solid. On thoroughly cooled cupcakes take about a melon ball full of the filling and put it in between the cup cake halves. I used a special mold by Nordic Ware that had room to put fillings-an indentation and then they are put together like sandwiches. You can half a large cupcake and do the same thing with it though. J
Yield: about 24 cupcakes
Bake for about 20 minutes, or until done at 350 degrees
Cool and ice with whatever frosting you like. I used Betty Crocker Cream Cheese Icing but you could use a fluffy white or even a chocolate ganache.
Devil’s Food Cupcakes with Nutella & Cream Cheese Filling
Thank you so much Paulette for sharing with us this wonderful cupcake recipe with Nutella and cream cheese filling!
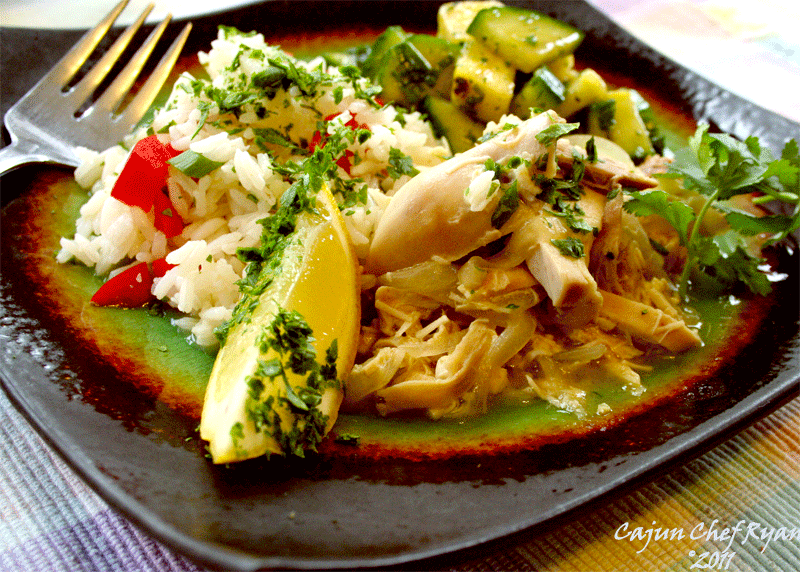
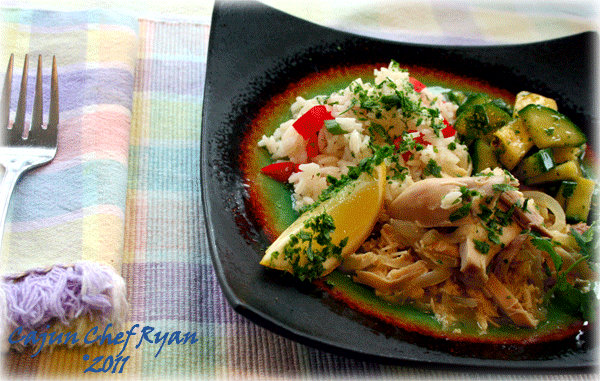
Sometimes we like to take a little trip, take a little trip in our kitchen to foreign lands of flavor induced mind altering tastes; these absolute sensations are right there, yes, right over there, on your next grocery list. Got Green Curry!
Thai is one of those cuisines that will always have a special place in my heart!
The first time my parents exposed me, yes I say exposed, uncovered, open to the elements, out in the open, because we were always trying out different foods in my family. Yes, that’s me, stripped of any and all pedestrian in me, Thai food was sitting in front of me as a young lad of about 12 or so, and I ordered the spicy stuffed squid, no chicken nuggets for me! I have always had a fascination for the exotic and unusual. Can you see your 12 year old ordering stuffed spicy squid today? I thought so!
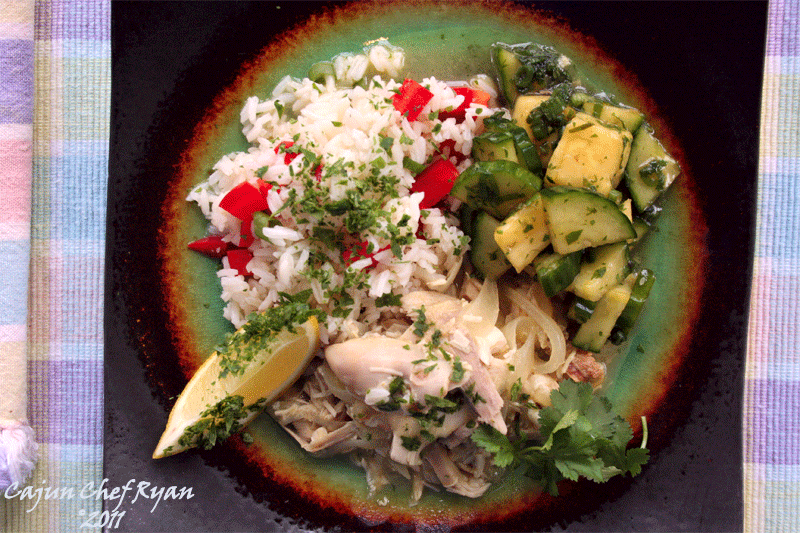
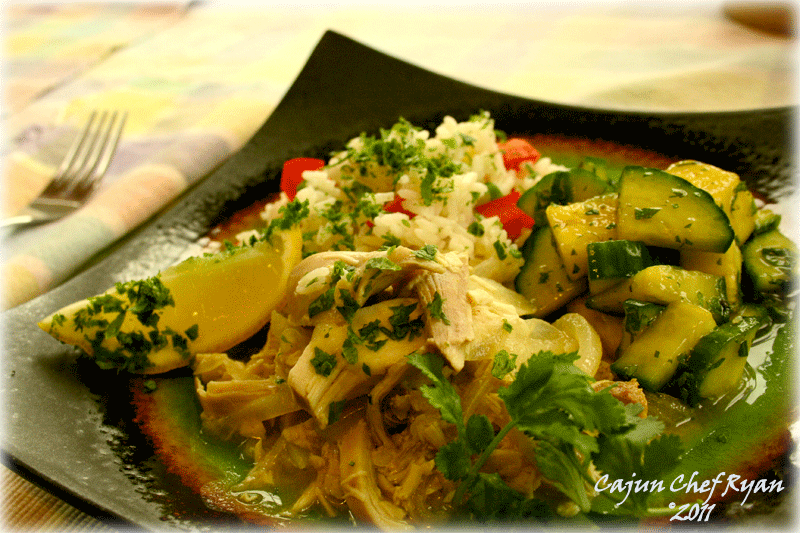
The creamy coconut milk and spicy green curry paste in this sauce creates an exotic Thai induced culmination that just screams the body electric! Pow! Zing! Tasty! Trembling flavor madness!
With a fresh batch of jasmine rice pilaf and a side of cucumber, pineapple, and mint salad this light dish is sure to please your traveling bon vivant in you!
Happy tasty travels!
Serves four hungry foodie travelers! The salad and rice should be made ahead.
Ingredients
For the chicken curry sauce
Cooking spray
1
Cup
Onion, julienne
1
Tbsp
Green curry paste
1
Cup
Chicken stock
1
Cup
Light coconut milk
2
Cups
Roasted chicken breast, thinly sliced
¼
Cup
Cilantro, fresh, chopped
4
Slices
Lime or lemon wedges
4
Sprigs
Cilantro
For the salad
2
Cups
Seeded cucumber, chopped
1
Cup
Pineapple, chunks
½
Cup
Green onions, sliced
3
Tbsp
Mint, fresh, chopped
1
Tbsp
Rice vinegar
1
Tbsp
Oyster sauce
For the rice
2
Cups
Water
1
Each
Bay leaf
½
Tsp
Salt
1
Cup
Jasmine rice
¼
Cup
Red peppers, diced
Procedure Steps:
For the chicken sauce
1.
Heat a large sauté pan over medium-high heat, then coat with cooking spray. Add the onion and sauté until soft and translucent, then add and stir in the curry paste.
2.
Add the chicken stock and coconut milk and bring to a simmer.
3.
Add in the roasted chicken breast and heat through, or about 3 minutes.
4.
Portion out evenly into four bowls and garnish with the lime or lemon wedges and the chopped cilantro.
For the salad
1.
Combine all salad ingredients in a large bowl and chill until ready to serve.
For the jasmine rice
1.
Bring water, bay leaf and salt to a boil. Add the rice and reduce heat to a low simmer for 20 minutes. Turn of heat and allow to rest five minutes. Stir in red peppers and serve.
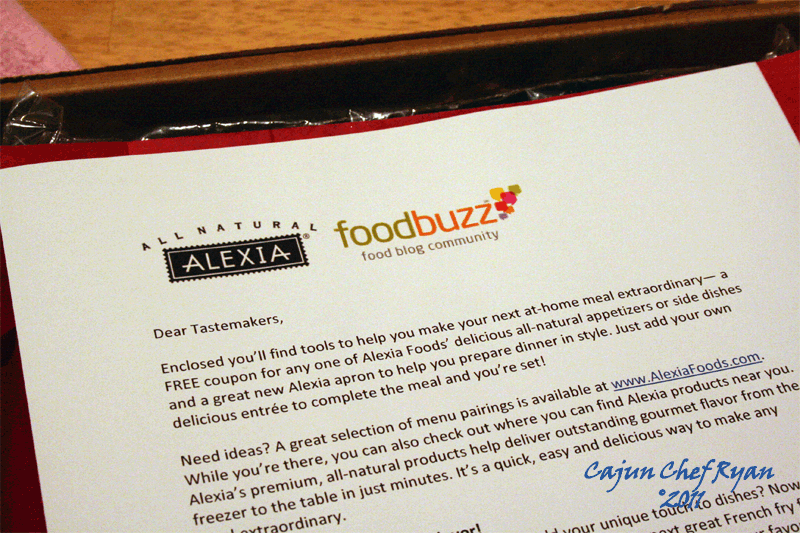
On January 22, 2011 I received a package from Foodbuzz to promote the Alexia products as part of the Tastemaker program. The package included a coupon for one free bag of their frozen vegetable product, along with a nice apron and a well drafted letter.
Alexia Foodbuzz Tastemaker letter
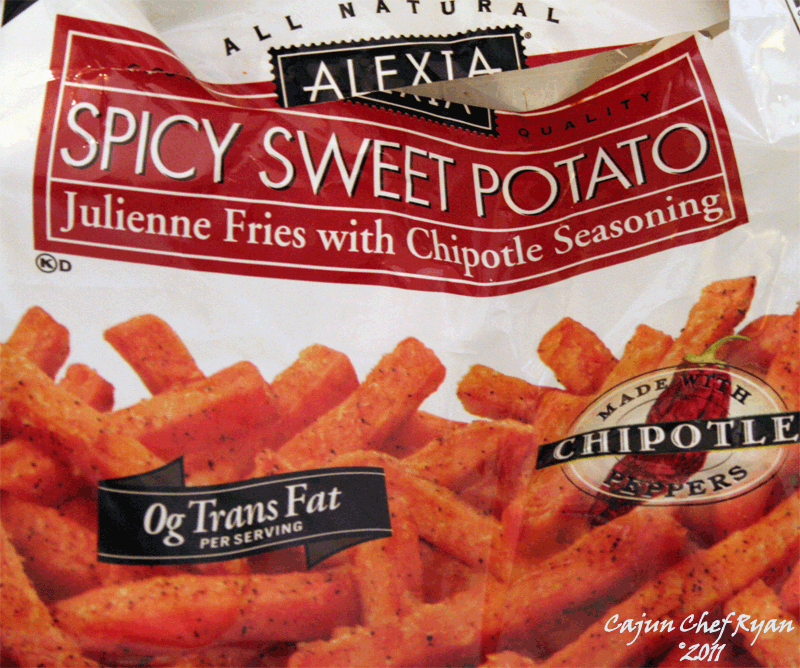
With my Alexia coupon gently nestled into the “Freezer” section of my coupon binder we made several attempts to find any Alexia products in our local grocer freezer sections, we tried Harris Teeter, Lowe’s, Kroger, and Wal-Mart, to no avail. About a month after getting the coupon, we finally stumbled upon some Alexia frozen products at our local Super Target. I selected the “Spicy Sweet Potato” Julienne Fries with Chipotle Seasoning”.
Alexia Sweet Potato Fries bag
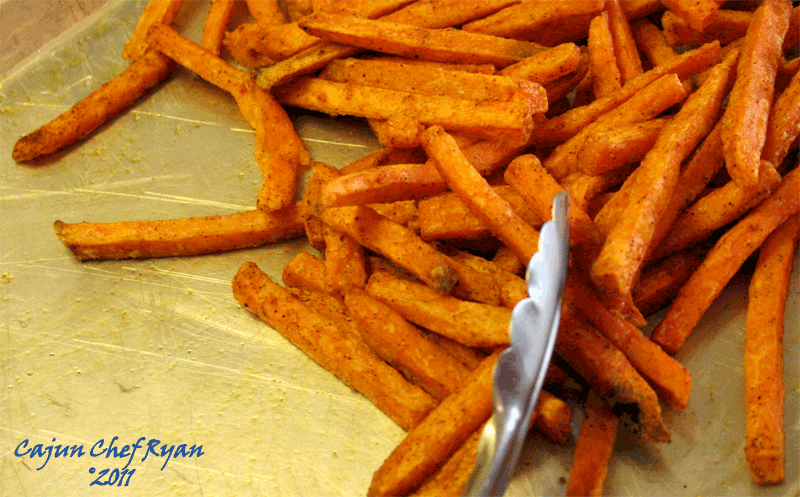
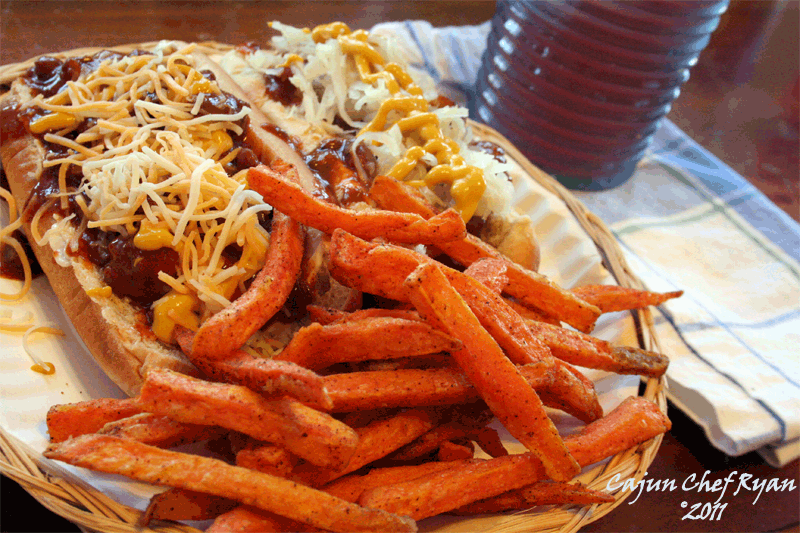
Several days later we baked them in the oven per the package directions and served them as a side to our hot dogs. These are some really good tasting sweet potato fries; the seasoning is just right, not too spicy, and not bland like you find some sweet potato fries on the market today. I would recommend these to anyone who likes to buy frozen sweet potato fries.
Baked Alexia Sweet Potato Fries
Alexia Sweet Potato Fries and Hot Dogs Plated
Lunch time with Alexia Sweet Potato Fries and Hot Dogs
Thank you Foodbuzz and Alexia for the coupon and the apron!
So, about a month or so ago the Foodbuzz Tastemaker program offered me a chance to propose a menu using Newman’s Own products. And about a week and half ago I recieved a box in the mail with a Flip Video HD camera and three jars of pasta sauce and three bottles of salad dressing. Thank you Newman’s Own and Foodbuzz for the great products.
Here is the recipe proposal, recipe, and video!
Recipe Proposal: Recipe: Newman’s Own Grilled Flank Steak
Using Newman’s Own Family Recipe Italian Salad Dressing as part of the marinade for flank steak, this is allowed to marinate 10 minutes. Then the marinated flank steak is grilled for about 4 minutes per side, or until medium rare. In the meantime, a sauce is made utilizing some of Newman’s Own Cabernet Marinara Pasta Sauce to create a flavorful and tasty dish with a side of angel hair pasta.
Newman’s Own Grilled Flank Steak with Angel Hair Pasta
Ingredients
For the flank steak
1
lb
Flank steak
¾
Cup
Newman’s Own Family Recipe Italian Salad Dressing
2
Tbsp
Green onions, chopped
1
Tbsp
Honey
1
Tsp
Ginger, ground
2
Tbsp
Soy sauce
2
Tsp
Orange zest
2
Tsp
Cajun Spice Blend
2
Cloves
Garlic, minced
For the pasta
½
Tbsp
Olive oil
½
Lb.
Angel hair pasta, prepared to package directions
2
Cups
Newman’s Own Cabernet Marinara Pasta Sauce, heated
To taste
Salt and fresh black pepper
2
Tbsp
Fresh rosemary, chopped
½
Cup
Fresh grated Parmesan cheese
Procedure Steps:
1.
Trim any fat from the flank steak, and then set aside inside a gallon sized zip-type bag.
2.
In a small bowl combine the remaining flank steak ingredients and stir well until the honey is dissolved. Add the marinade ingredients to the bag with the flank steak. Allow to marinate for at least 10 minutes or overnight if time permits.
3.
Remove flank steak from marinade and allow it to drain. Prepare your grill with hot coals, or use a very hot griddle, or heat the broiler for indoor cooking. Sear the flank steak for about four minutes on each side. Remove from the heat and allow the flank steak to rest for about five minutes, then slice into thin strips across the grain.
4.
While the flank steak is grilling, for the pasta heat the olive oil in a large sauté pan over medium heat. Add the prepared angel hair pasta, and toss to coat well. Then add the heated marinara pasta sauce and stir well to coat the pasta. Season with the salt and fresh black pepper to taste
5.
Transfer the pasta to a serving platter and garnish with the fresh chopped rosemary and the fresh grated Romano cheese.
To Serve: Portion four ounces of the flank steak and one-quarter of the pasta on each serving plate. Garnish with more fresh grated Romano cheese and fresh chopped rosemary
Yield: 4 servings
Here are some great tips for making your own videos while cooking in your kitchens!


 Cooking up a Storm All over the World logo
 Paulette of ”Cooking up a Storm All over the World”
 Devil’s Food Cupcakes with Nutella & Cream Cheese Filling