
King Cake, Traditional Recipe: v3.02
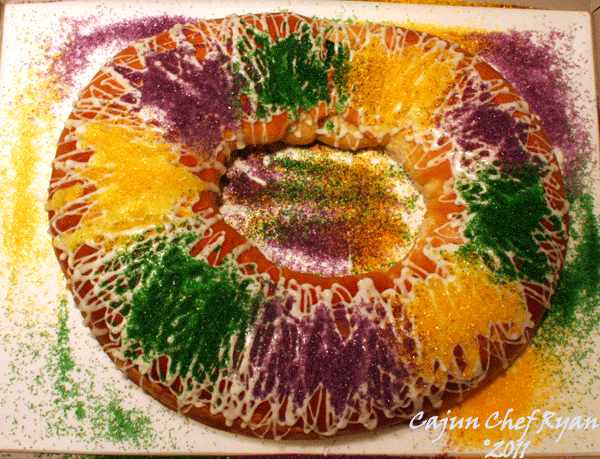 King Cake, Traditional Recipe: v3.02
Over the years I cannot tell you how many King Cakes have passed through the oven doors in the kitchens I’ve manned. But what I can tell you is the recipe has evolved over the decades since the first time I baked one in the 1980’s. I have updated the recipe once again, and this time the base dough has changed, as a result since this is the third major update in my recipe I have documented it as version 3, and the .02 is in reference to the icing recipe has also been updated.
Before I go into the strategy behind the updated King Cake recipe, I want to talk about how recipes change and morph throughout their origin.
Recipes evolve over time, especially those handed down from generation to generation within families. Some recipes change because the original ingredients are no longer available, or other suitable substitutions have been introduced to the marketplace. In some instances the methods may change, or the utensils and equipment are different.
Have you ever taken a look at some very old cookbooks from the turn of the 18th and 19th century? Google books offer digital copies of hundreds of old cookbooks, and they are available for previewing in your Internet browser. Take for example the preview available of The White House Cookbook. Scroll down to page 23 and look at the recipe for Cream of Spinach in the soup section, an excerpt is displayed below:
“Pick, wash, and boil enough spinach to measure a pint, when cooked, chopped, and pounded into a soft paste. Put it into a stewpan with four ounces of fresh butter, a little grated nutmeg, a teaspoon full of salt. Cook and stir it about ten minutes.”
The recipe goes on to incorporate an additional two quarts of “strong stock” then boiled and strained, and then back onto the “fire” again, and when the boiling point is reached again mix in more butter and a little sugar. While this particular book is copyrighted 2010, some of the original recipes in The White House Cookbook date back to over a hundred years ago.
This recipe utilizes assumption and old equipment; first, you have to know how much fresh spinach when cooked down and mashed into a soft paste will yield a pint, which is two cups. Then you have the technique of pounding the cooked spinach in a mortar and pestle, this is a lot of work. Thank goodness for food processors we have today! Then you add some butter and spices, cook some more in the “stewpan” and then strain all this too! Imagine how straining back in the late 1800’s must have been, because I can tell you, straining chopped spinach today is no easy feat! And then you have to know what kind of “fire” they are using! Was it coal, wood, oil, or gas that fueled the White House kitchens stovetops when this recipe was developed?
When you boil it down, the foundation of cooking is the simple act of applying heat to any edible foodstuff. How the heat is applied, what was used to apply the heat, and how the ingredients are prepped gets into the way recipes evolve over time.
Now, onto the King Cake recipe and the next version, as you well know I have already published my King Cake ~ The Recipe, which is actually my second version. It gets a lot of hits and continues to build in popularity for about the six weeks leading up to Mardi Gras each year. By the way, Mardi Gras is next week, Tuesday, March 8, 2011.
In the ongoing and continuing task of improving my recipes, I have changed the dough preparation in the king cake somewhat from the previous version, utilizing a cinnamon bread dough type recipe that has a moister consistency and does not dry out as quickly is the motivation behind the base dough change. The lemon juice in the original recipe has been replaced with orange juice in the new recipe, and a thicker icing / frosting has replaced the thinner version. Thus the 3.02 designations, meaning the third version of king cake dough, and the .02 reference for the new icing / frosting. I have also added images for each step of the process in this version.
| Ingredients | ||
| For the dough | ||
| 1 | Packet | Dry yeast |
| ¼ | Cup | Warm water (110° F) |
| 1 | Cup | Milk, scalded |
| ½ | Cup | Sugar, granulated |
| ¼ | Cup | Butter, room temperature |
| 1 ½ | Tsp | Salt |
| 1 | Tbsp | Orange zest |
| ¾ | Cup | Orange juice |
| 5 ½ | Cups | Unbleached all-purpose flour, sifted, divided |
| 2 | Large | Eggs, room temperature, beaten |
| For inside the dough coating | ||
| ½ | Cup | Sugar, granulated |
| 1 | Tbsp | Cinnamon, ground |
| 2 | Tbsp | Water |
| For the egg wash | ||
| 1 | Large | Egg, beaten, room temperature |
| 1 | Tbsp | Water, room temperature |
| For the tinted sugar topping | ||
| 1 ½ | Cups | Sugar, granulated, divided |
| ¼ | Tsp | Purple food color |
| ¼ | Tsp | Green food color |
| ¼ | Tsp | Yellow (gold) food color |
| For the icing / frosting | ||
| 1 | Cup | Confectioners’ sugar (powdered) |
| 4 | Tsp | Lemon juice
|
| Step-By Step Procedures: | |
| 1. | For the dough: In a small bowl dissolve the yeast in the warm water, stir well to allow the yeast to start working, and then set it aside.
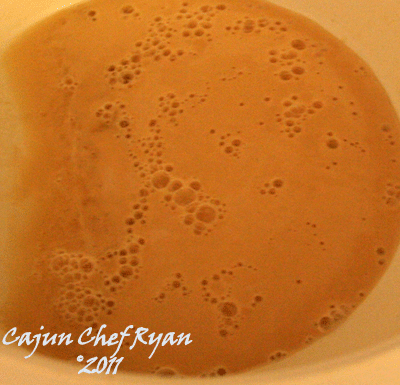 Dissolve the yeast in the warm water Dissolve the yeast in the warm water |
| 2. | In the bowl of an upright mixer combine the scalded milk, sugar, butter, salt, orange zest and orange juice, mix with the wire whip attachment on slow speed until the butter is melted, and then allow this to cool until lukewarm, or around 110° F.
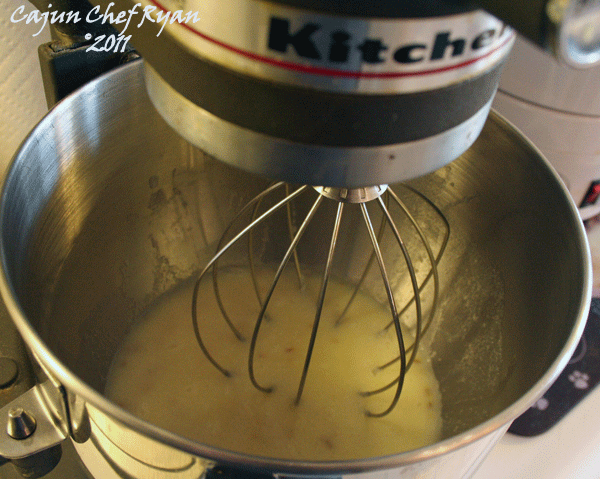 Mix with the wire whip attachment on slow speed Mix with the wire whip attachment on slow speed |
| 3. | Change out the wire whip attachment on the mixer and replace it with the dough hook, then stir in 2 cups of the flour and beat on medium speed until smooth. Turn off the mixer and add the yeast mixture and the beaten eggs. Turn on the dough hook and allow this to mix again until well incorporated. Add 3 more cups of flour a cup at a time until the dough is not sticky and has pulled away from the sides of the bowl. Continue on slow speed with the dough hook for about 5 minutes to knead the dough. And add a little more flour if it looks like the dough surface is sticking to the bowl again or if it looks too moist.
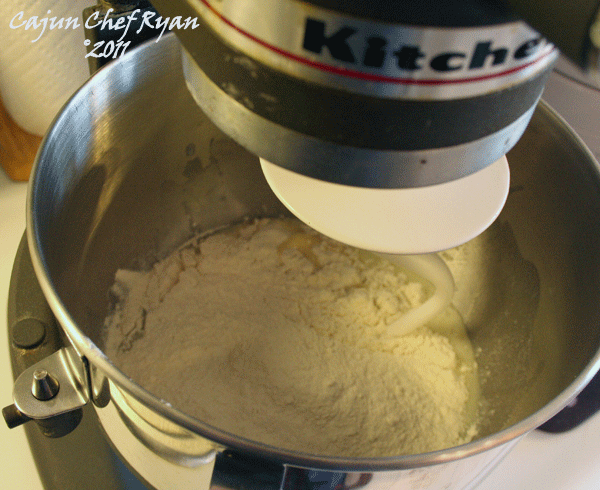 Add 2 cups, mix with dough hook Add 2 cups, mix with dough hook Add the yeast mixture, mix with dough hook Add the yeast mixture, mix with dough hook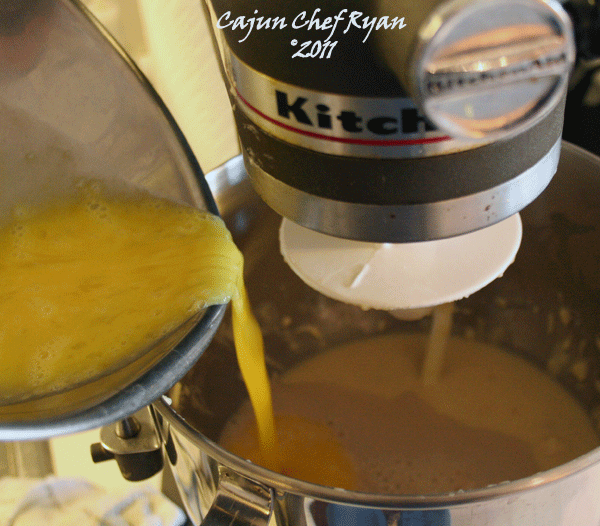 Add the beaten eggs, mix with dough hook Add the beaten eggs, mix with dough hook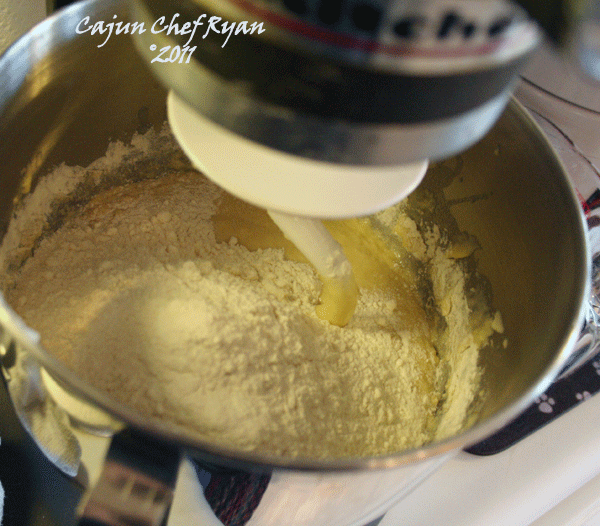 Add 3 cups flour 1 cup at a time, mix with dough hook Add 3 cups flour 1 cup at a time, mix with dough hook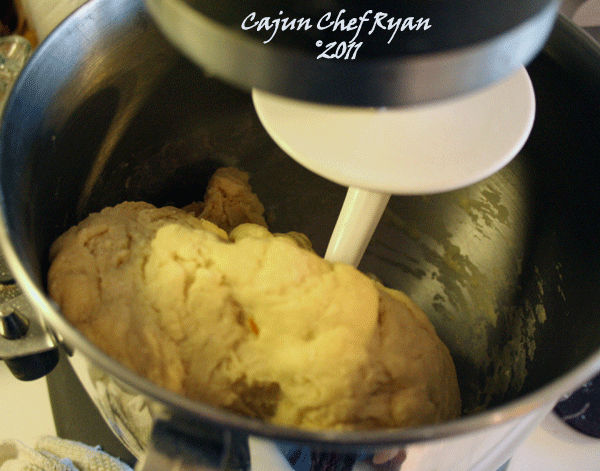 Mix 5 minutes until smooth Mix 5 minutes until smooth |
| 4. | Turn the dough into a well greased large bowl and be sure all sides of the dough are coated with a think film of oil. Cover with plastic wrap or a damp but well rung kitchen towel. Place in a warm spot between 90° – 110° F. Allow the dough to rise and double in size. About 90 minutes.
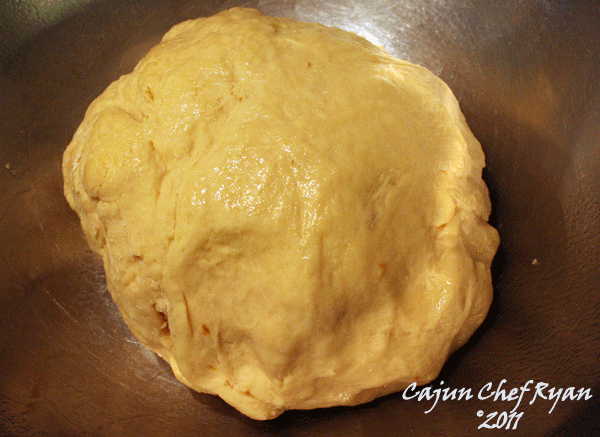 Dough in large greased bowl for first rising, 90 minutes Dough in large greased bowl for first rising, 90 minutes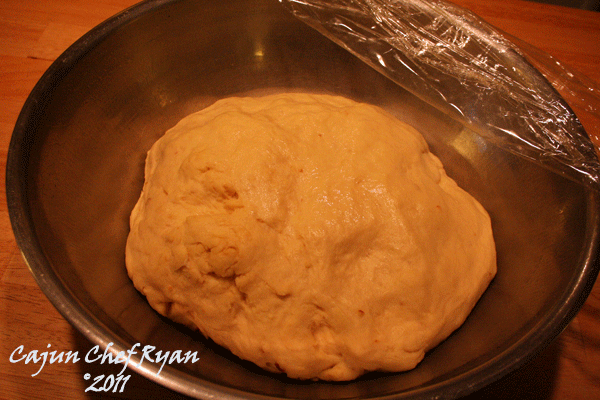 Dough doubled in size Dough doubled in size |
| 5. | Punch down the dough then transfer it to a floured work surface, then roll it out into a rectangle that measures about 14”x 28” inches, it should be about a ½ inch thick. For inside the dough coating: combine the sugar and cinnamon then gently sprinkle that over the entire surface of the dough. Then using a sprayer or spoon, sprinkle the water and then smooth it over the dough surface with the back of a spoon. 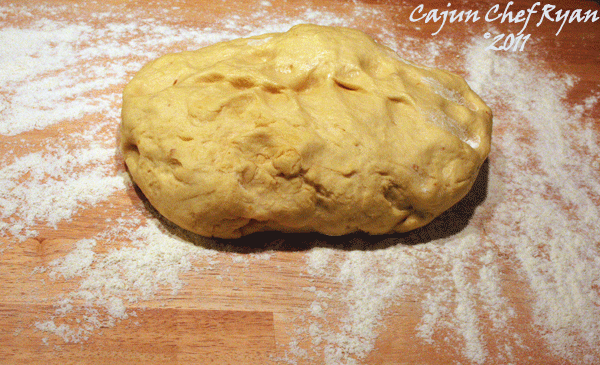 Dough on floured surface Dough on floured surface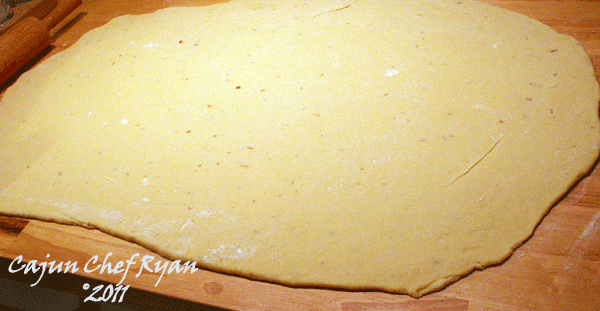 Shape into rectangle Shape into rectangle |
| 6. | If you have a filling (see below) this is the time to add the filling just inside one long edge of the dough. Then in jelly roll fashion, roll up the dough until you have about four inches of dough left. For the egg wash: Then using a pastry brush, coat the final area of exposed dough with the egg wash. Then finish with the rolling. Shape the dough into a complete ring or circle, and use more egg wash to attach the two ends together. Transfer the rolled dough ring to a greased sheet pan. Then brush more egg wash on all the exposed surfaces of the dough. 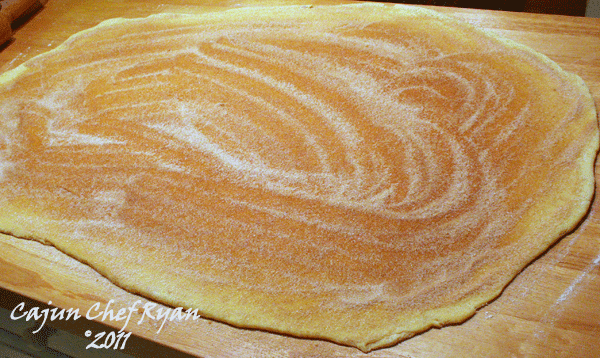 Cinnamon sugar sprinkled on dough Cinnamon sugar sprinkled on dough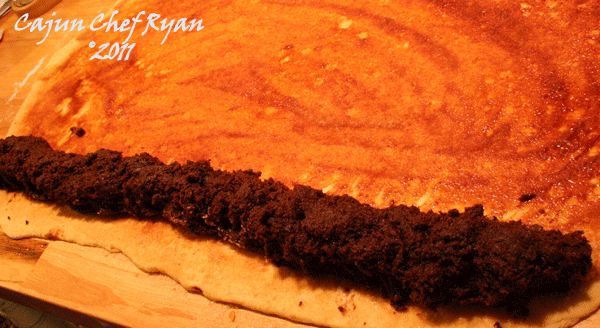 Chocolate filling added Chocolate filling added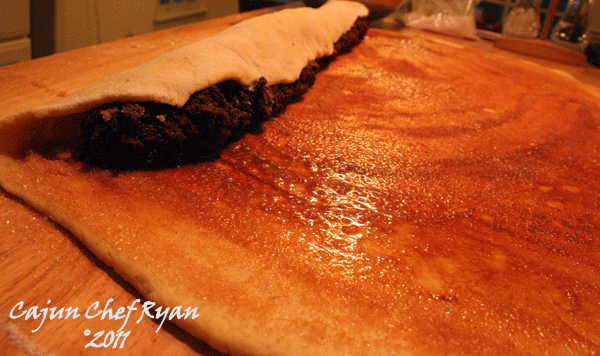 Roll the dough Roll the dough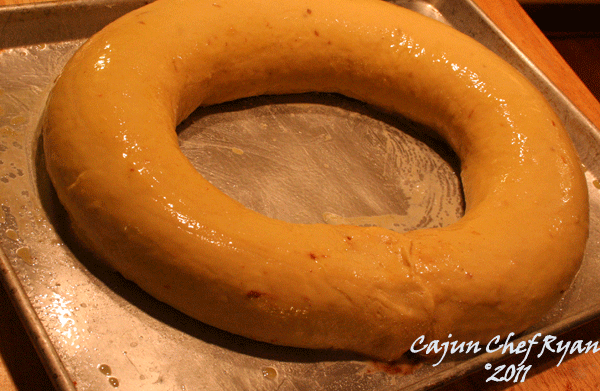 Shaping the dough and egg wash before second rising Shaping the dough and egg wash before second rising |
| 7. | Place the sheet pan in a warm spot between 90° – 110° F. Allow the dough to rise and double in size again. About 60 – 90 minutes.
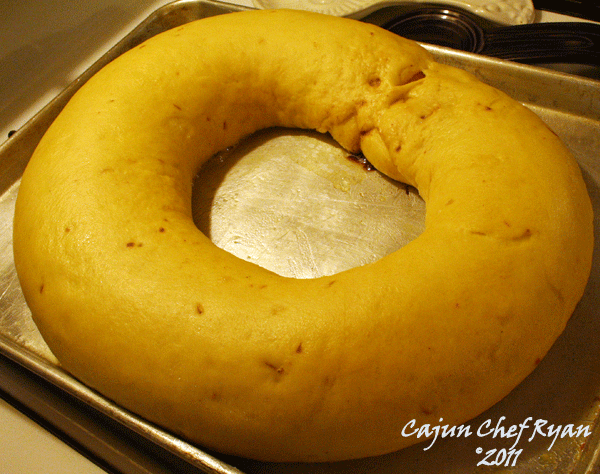 Dough after second rising, ready to bake Dough after second rising, ready to bake |
| 8. | Preheat oven to 375° and bake for 10 minutes, then turn heat down to 350° and bake for an additional 25 minutes, or until a cake tester comes out clean when poked through the largest section of the cake. |
| 9. | Allow the cake to cool completely on a wire rack.
 Baked King Cake cooling on wire rack Baked King Cake cooling on wire rack |
| 10. | For the tinted sugar topping: While the cake is cooling prepare the tinted sugars by taking three separate bowls with ½ cup of sugar in each. Then take the purple food color and slowly drop a dot or two at a time into the sugar. Using a spoon stir to mix and spread the color around until all sugar is tinted. Add more food color as needed. Repeat the process for the green and then the yellow as well. Set the tinted sugars aside. Note: To make purple food color combine equal parts blue and red food color, or about 1/8 teaspoon each to make the ¼ teaspoon needed. |
| 11. | For the icing / frosting: Combine the confectioners’ sugar and orange juice in a deep bowl whisking until smooth. If icing is too stiff whisk in ½ tablespoon water at a time until spreadable. |
| 12. | Place cooled cake onto a serving platter or heavy cake cardboard and coat the top and sides of the cake with the icing. I like to dip my fingers into the icing and then drizzle it over the top of the cake. While the icing is still fresh immediately sprinkle the tinted sugars in individual rows about 2 to 3 inches wide of the purple, green and gold (yellow).
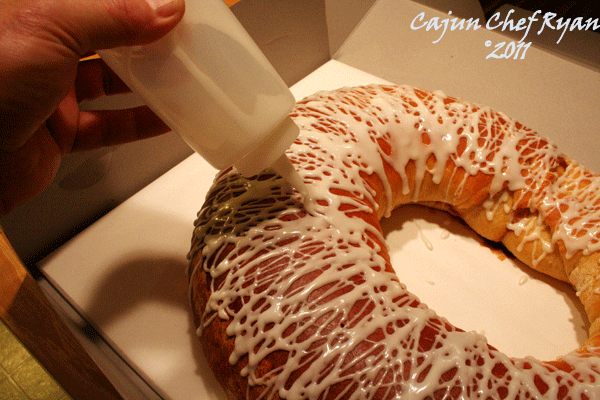 Icing the King Cake Icing the King Cake |
If preparing in advance allow the icing and tinted sugars to set up a bit then cover with a plastic bag or plastic wrap. Typically a King Cake can last 2-3 days un-refrigerated.
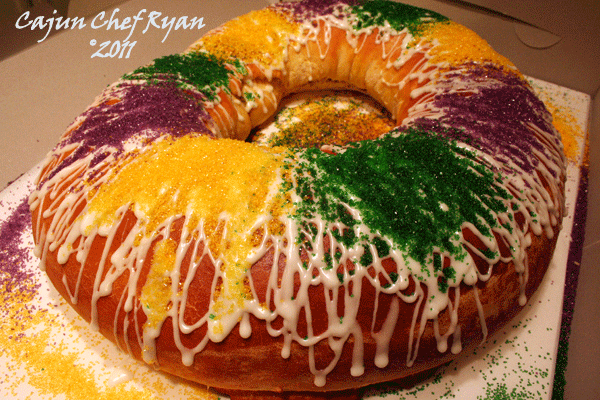 Finished King Cake
Note on Fillings: If filling the cake you will want to have your filling prepared prior to step 6 where you are rolling the dough. In fact, for filled King Cake dough’s I will roll the dough out similar to cinnamon roll or Danish dough style then the dough will get rolled up around the filling jelly roll style. Then the filled dough is added to the baking sheet pan and looped into the circle and pinched before the second rising and baking stages. Typical fillings include sweetened and softened cream cheese, cherry pie filling, blueberry pie filling, lemon filling, custard filling, and my favorite is a double chocolate cake filling. Typically any pie or doughnut filling will work; you are only limited by your imagination.
Double Chocolate Filling
I have not found anyone else who makes a chocolate filled King Cake. So I am sharing my version of double chocolate filling here.
| Ingredients | ||
| 4 | Oz | Sugar |
| 16 | Oz | Chocolate cake crumbled |
| 8 | Oz | Chocolate chips, mini |
| 1 | Oz | Eggs, beaten (1 medium) |
| 1 ½ | Oz | Butter, melted |
| 1 | Tsp | Vanilla extract |
| 3 | Oz | Milk, as needed |
| Procedure Steps | |
| 1. | Combine the sugar, chocolate cake crumbs, and chocolate chips in a large bowl |
| 2. | Combine the eggs, melted butter and vanilla extract in another bowl, and then add this to the crumbs and sugar mixture. Blend in enough milk to make it a smooth and pudding like consistency. |
| Cream Cheese and Fruit Filling | ||
| 1 | Can | Cherry, apple or apricot pie filling (16-ounces) |
| 8 | Ounces | Cream cheese, softened |
| ¼ | Cup | Sugar |
| 2 | Tsp | Flour |
| 2 | Each | Egg yolks |
| 1 | Tsp | Vanilla extract |
| 1. | If necessary, drain extra juice from pie filling. Mix the softened cream cheese with the sugar, flour, egg yolks and vanilla. Spoon an inch-wide strip of fruit filling the length of the dough, about 3 inches from the edge. Spoon the cream cheese mixture alongside the fruit, about 3 inches from the edge. Brush the exposed dough with egg wash. |
| 2. | Fold or roll one edge of dough over the cream cheese and fruit in jelly roll fashion, and continue to roll the dough to the end, and then brush with a little egg wash. Gently place one end of the filled rolled dough onto the buttered baking sheet pan, and then ease the rest of the roll onto the pan, joining the ends to form the loop or circle. Add more egg wash to “glue” the ends together. And then pick up from step 6 in the dough procedures above. |
Bon appetite!
CCR
=:~)
©2011 CCR





 mul yeot (Korean corn syrup)
 gochugaru (Korean spicy red pepper powder)