This day 100 years ago on August 15, 1912 the world was graced with the birth of Julia Child! One of America’s culinary geniuses.
Julia was an early influence on my culinary endeavors, she inspired me with her “French Chef” cooking show on PBS, in fact, she is who inspired me to explore cooking at home at an early age, and I eventually became famous for my French Omelets. You can read more on “How an omelet changed my life”.
I had the pleasure of meeting Julia and working with her during a Macy’s cooking demonstration event at the New Orleans Centre shopping mall in 1991. At the time I was the Food and Nutrition Director at the Rehabilitation Institute of New Orleans (RINO) at F. Edward Hebert Hospital in Algiers (New Orleans), Louisiana. Other chefs at this event included the late Jamie Shannon then chef at Commander’s Palace, Frank Brigtsen chef and owner of Brigtsen’s Restaurant, Chef T. Walden, and several apprentice chefs who assisted us in preparation for the demonstrations. The photo below was taken in one of the meeting rooms before the event, I am standing second from the left and just behind Jamie Shannon.
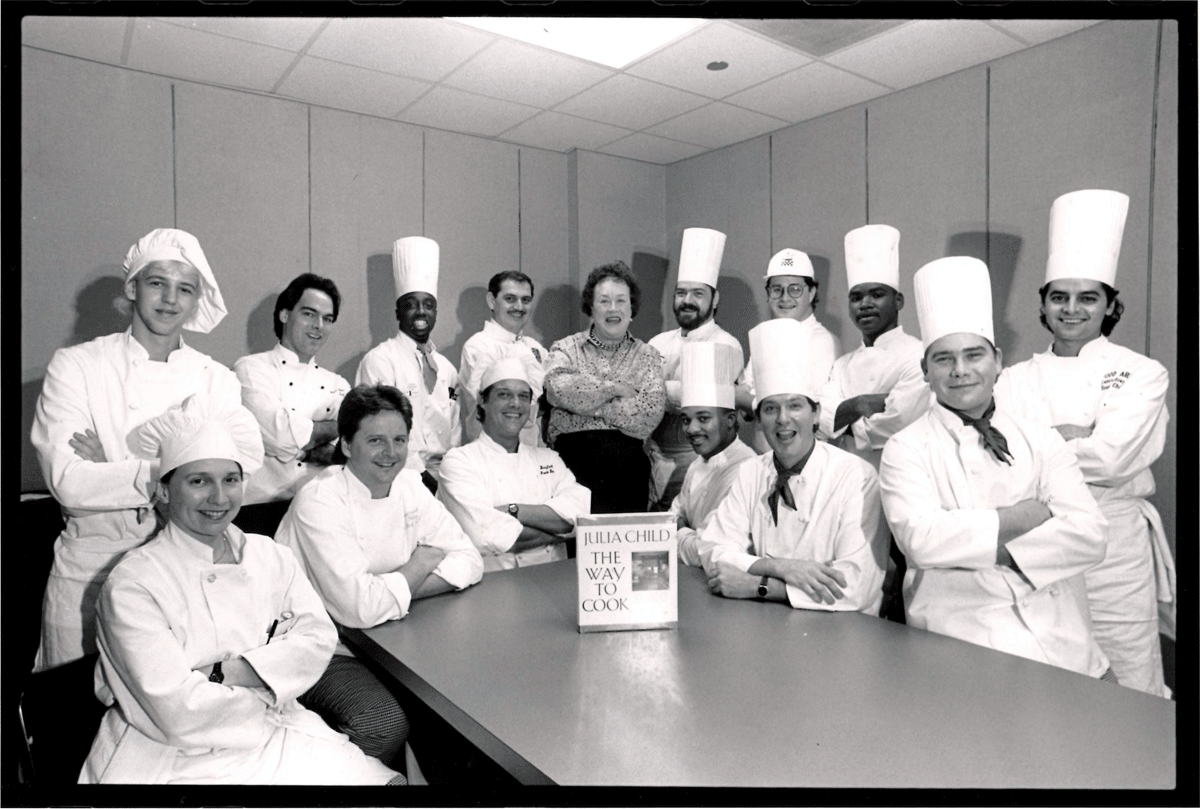
Julia Child Macy’s Cooking Demonstration with local New Orleans chefs.
Happy Birthday Julia!
All our love!
Tags: Commentary
July 30th, 2012 · Comments Off on Yukon Gold Potatoes
Several weeks ago we harvested our Yukon Gold Potatoes from one of our front yard plots. Our total yield was about 15 pounds of the creamy succulent potato.
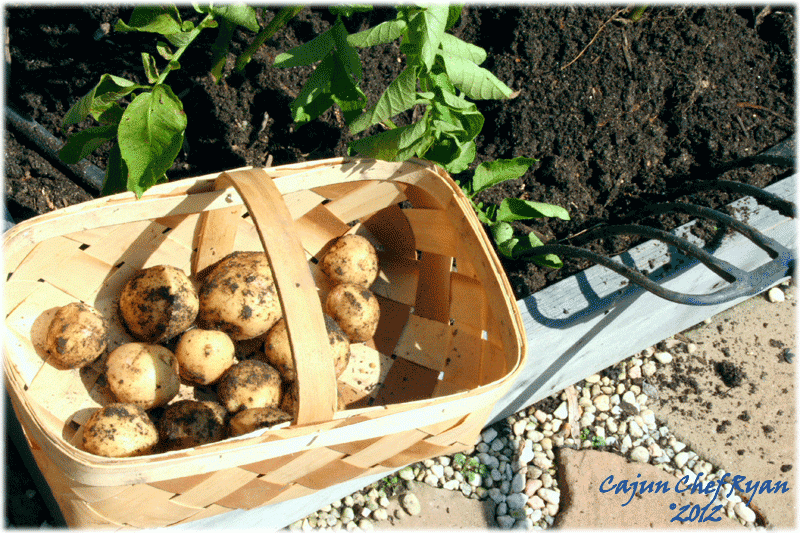
Harvesting Yukon Gold potatoes
With the pitch fork in hand we pulled out the tiny potatoes. This is our first time growing below ground level tubers, and we are pleased with the results.
After pulling up about two pounds of the tasty morsels, we washed them with the garden hose and admired their beauty on the front porch.
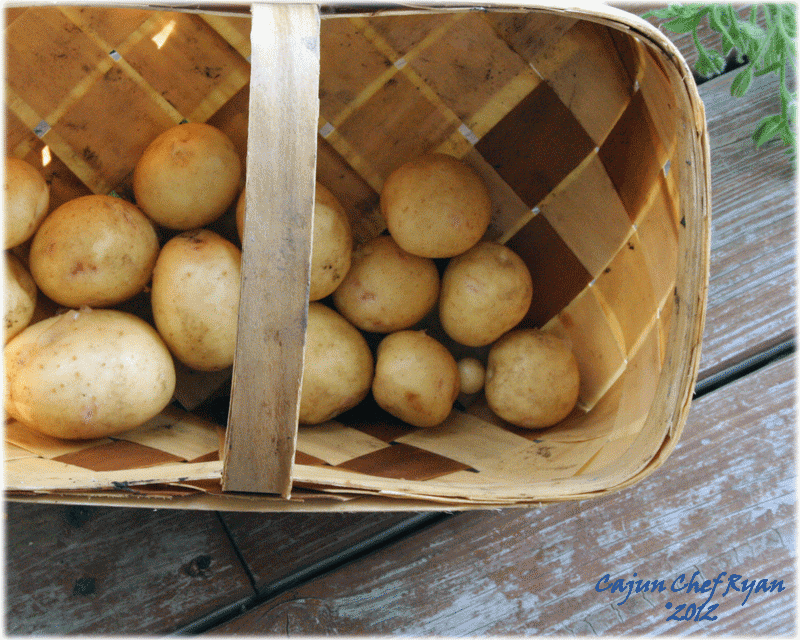
Washed Yukon Gold Potatoes
Once inside the kitchen, they did not last very long…Yukon Gold Potatoes ready to cook!

Yukon Gold potatoes ready to cook!
Monique made a batch of Fresh Dill Weed and Garlic Mashed Yukon Gold Potatoes.

Fresh Dill and Garlic Mashed Yukon Gold Potatoes
Dill and Garlic Mashed Yukon Gold Potatoes
| Ingredients |
| 2 |
Lbs. |
Yukon Gold potatoes |
| 2 |
Tbsp |
Butter, divided |
| ½ |
Cup |
Sour Cream |
| 1 |
Tbsp |
Garlic, minced |
| 2 |
Tbsp |
Dill, fresh chopped |
| To taste |
Salt and white pepper |
| Procedure Steps: |
| 1. |
In a medium pot cover potatoes with cool water, then place on stop top and turn heat to high. Bring to a boil and reduce heat to a slow boil, cooking potatoes until soft, or about 20-30 minutes. In the meantime, heat 1 tablespoon of the butter in a small saute pan and cook the garlic for about 2-3 minutes, or until fragrant, remove from heat. When potatoes are tender, drain water from the pot and return potatoes to the pot. Mash the potatoes with the back of a large spoon or a potato masher. |
| 2. |
Add the garlic and butter, the remaining 1 tablespoon butter, sour cream, and dill weed to the potatoes and stir well. |
| 3. |
Season to taste with the salt and white pepper. |
Bon appétit!
CCR
=:~)
©2012 CCR
Tags: Homestead · Ingredients · Recipes · Sustainability
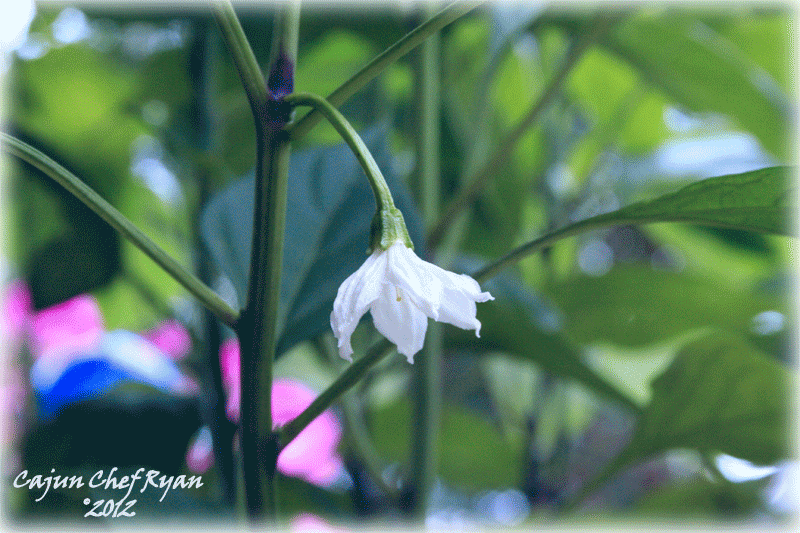
Pepper flower, the start of something big!
This is one of several pepper plants still in the starter tray, ready to transplant soon! What kind of pepper? Good question, we still are not sure, it is one of several from a “Pepper Mix” seed packet, could be either jalapeno, Serrano, ancho, Hungarian, or cayenne!
Hot!
Caliente!
Pickled Peppers and Homemade Hot Sauce are on the horizon!
Tags: Homestead · Ingredients

Curing garlic on the rack, 64+ bulbs
Gaaahlic! One of my favorite seasoning ingredients!
When I find a new recipe and it calls for garlic, I always quadruple the amount without question!
Now, we are curing our first harvest of garlic that we started in the garden last fall.
We sowed our first sets of seed garlic cloves in the fall following the colder climate method, and is typically the last crop to go into the garden before winter. Garlic is usually planted in the late fall and harvested the following early summer.
Here are some general tips and guidelines for growing your own garlic! Get ready, because I am going to start another batch of garlic in just a few months this fall.
How much seed garlic will I need? Measure out the plot where you want to plant your garlic, then, using a little math you can figure out how much you will need to buy. Typically a pound of seed garlic will yield about 20-25 row feet of garlic when planted with 6″ between the cloves. In my case I used a raised bed that measures 4’X12′, and I was able to plant four twelve foot rows with two pounds of seed garlic.
Each pound of hardneck seed garlic has from 35-50 cloves. As each clove grows into its’ own plant and bulb of garlic, each pound will yield 35-50 garlic bulbs (approx 4-7 pounds).
Each pound of softneck garlic seed has from 50-70 cloves, as softnecks have more cloves per bulb than hardnecks. This will yield 50-70 garlic bulbs or approx 6-10 pounds.
Soil conditions and when to plant: Garlic likes a slightly acidic, well-cultivated soil with plenty of compost organic matter. Once the seed garlic arrives from your supplier you should plant it within a week so they won’t dry out and loose their life-force. Garlic roots best when planted well before the first frost, giving it time to develop an established root system before the wintry cold temperatures start to set in for the season.
Spacing, mulching, and watering: Plant the seed garlic cloves with the blunt end down about 2″ deep and about 6″ apart with about 12″ between rows. Cover the garlic bed with several inches of mulch, straw, or leaves to help keep them warm and to conserve water, protecting the young bulbs through the harsh winter months. The mulch also helps to deter weeds from taking over your garlic bed. Shoots will push up through the mulch and depending on the area may die back over winter, but they will return in the spring. Garlic likes lots of water so be sure they get a regular weekly watering if the rain is not too frequent.
Harvesting: When the bottom rows of leaves begin to turn yellow that is your signal to check your garlic plants. Dig up one garlic plant to check the size of the bulb, if it is full and round, then you know it is getting close, if they are still small and wrapped in many layers of “skin” or wrapper, then they probably need more time. Stop watering your garlic for about a week or so and check back again, then harvest your garlic. If there are too few layers and the bulbs are beginning to split then you have probably left them too long and need to pick the rest quickly. You can dig garlic out with a shovel, pitchfork or potato digging fork, or if you have loose soil, just pull them up and out carefully. A shovel seems to work best in heavy soils. Be sure to dig in far enough away from the bulb so that it won’t be damaged when you lift it. Depending on your area it can be between mid-June and into July when the garlic is ready to harvest.
Curing: Set or hang your bulbs in a shady dry place to cure for a week or so before storing. The softneck varieties can be braided into bundles of 6-10 bulbs and hung to dry. There is some debate on whether washing garlic bulbs leads to storage diseases and problems or not. Some folks say that rinsing garlic with water makes it easier to use later and does no harm as long as it dries thoroughly afterward. Others say that you should never wash garlic with water, just brush off the dirt after a few days of curing. If you don’t like the rustic look of the garlic you can remove the outer later of “skin” or wrapper.
Storage: Store garlic in a cool, semi-dry, and well-ventilated area or in containers such as mesh bags that allow air flow. Hardneck varieties have a storage life from 4-6 months, and softnecks will store for up to 10 months. The “ideal” at home conditions for storing garlic is between 55 and 70 degrees F, with plenty of air circulation, and moderate humidity.

Garlic bulb curing in a shaded dry area on the front porch
Tags: Homestead · Ingredients