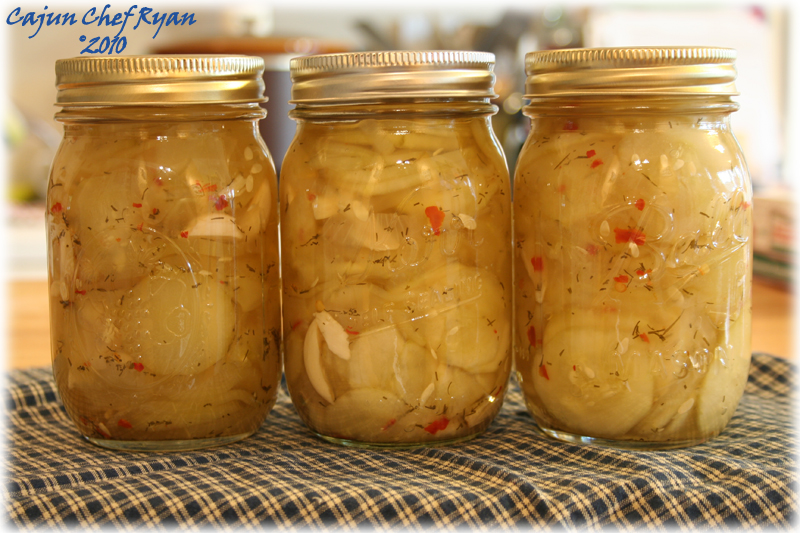
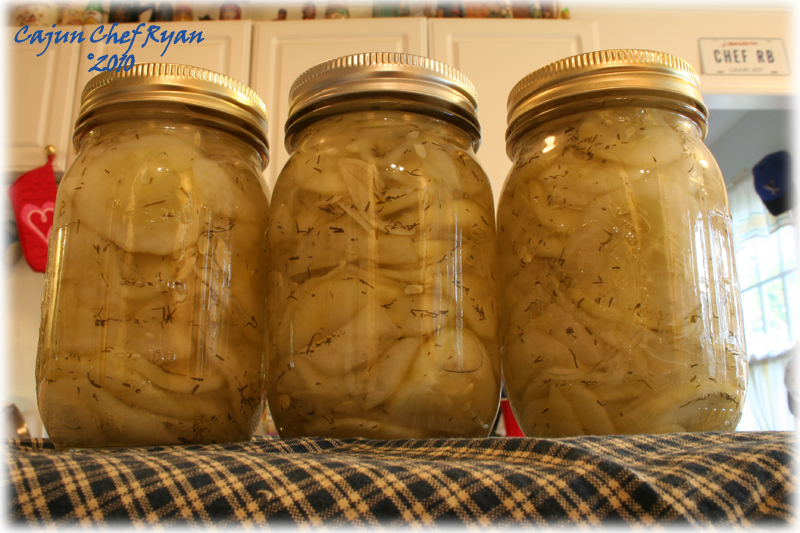
Adapted from a salad recipe which I posted on September 22, 2009, the New Pickle Cucumber Salad has now been adapted for canning.
With the addition of some chili pepper flakes, I spiced up half a batch of the cucumbers for some extra kick.
Ingredients
12
Large
Cucumbers, peeled and thinly sliced
3
Cup
Sugar
1 ½
Cup
Water
3
Cup
White vinegar
1 ½
Tbsp
Dry dill weed
1 ½
Tsp
Pickling salt
12
Cloves
Garlic, slivered lengthwise
3
Medium
Onion, thinly sliced or julienne
½
Tbsp
Chili pepper flakes (optional)
Preparation Steps
1.
Place the peeled and thinly sliced cucumber into a large bowl. If you want to make a half batch of spicy cucumbers, separate the cucumbers into two separate but evenly distributed bowls.
2.
In a medium saucepan combine the sugar, water, white vinegar, dry dill weed, and salt, and stir to dissolve the sugar. Add the garlic and onions and then bring to a boil then turn off the heat.
3.
Pour the liquid over the cucumbers and onions, stir well and chill for 4 to 6 hours, or overnight. If you are making half of the batch spicy, evenly pour half of the liquid ingredients into each of the two bowls of cucumbers and stir well, then into one of the batches add the chili pepper flakes and stir well. Cover and refrigerate for 4 to 6 hours, or overnight.
4.
In a large saucepan, bring the cucumber mixture to a temperature of 180° F and turn off the heat, keep covered. Have eight (8) 1-pint jars heated and then pack them with a ¼-inch head space with the cucumbers, onions, garlic, and liquid. If you are making a ½ batch of the spicy cucumbers, then 4 jars will be for them and the other 4 for the regular cucumbers. Use a rubber spatula to remove any trapped air bubbles by scraping the inside edge of the jar and the food mixture. Wipe the jars well and seal with the lids and screw bands, tighten the bands an extra ¼ turn after they start to seal well. Process in a water-bath covered with at least 1 to 2 inches of water for 10 minutes at 212° F. Turn off the heat and allow the jars to sit for 5 minutes, then remove the jars from the canner and allow the jars to cool on a kitchen towel for 12 to 24 hours. Label, date, and store them in a cool, dry, dark location for 6 weeks before serving. Refrigerate any open jars and consume them within two weeks of opening.
More snaps…
Jars of the Regular New Pickle Cucumbers
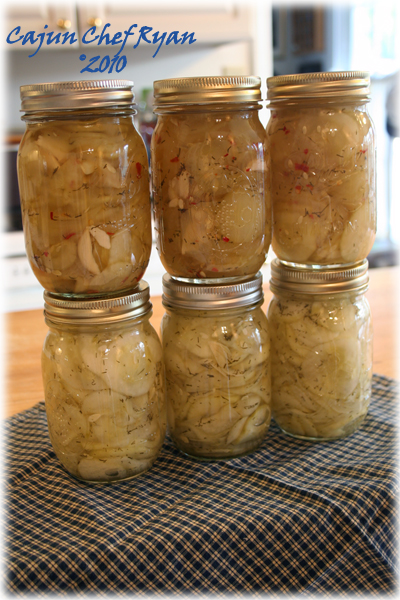
Both the regular and spicy cucumbers
Now I just need to label them and store for 6 weeks so the flavors develop.
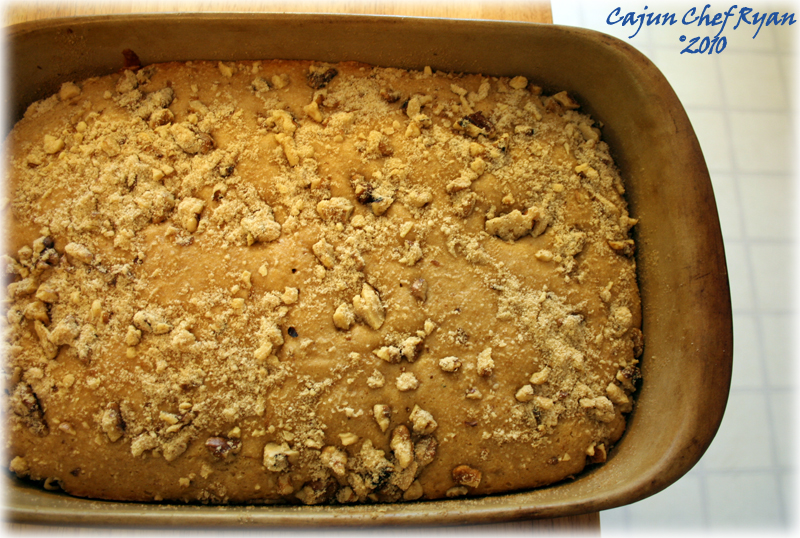
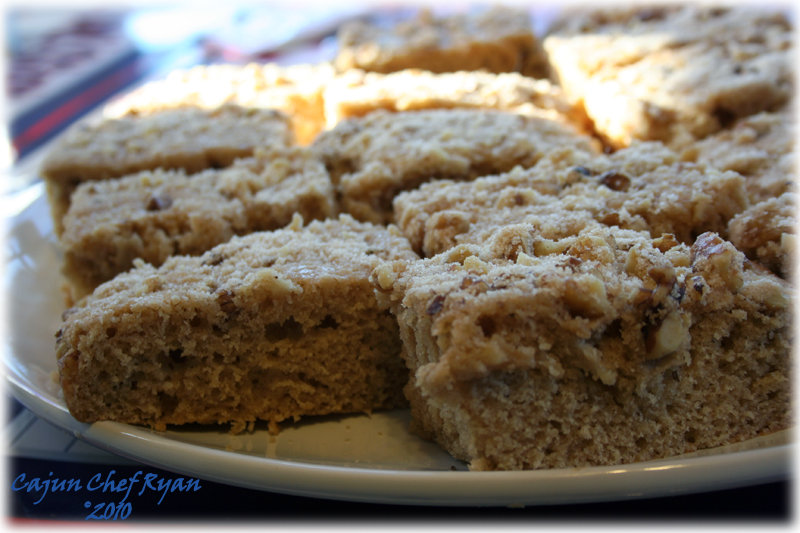
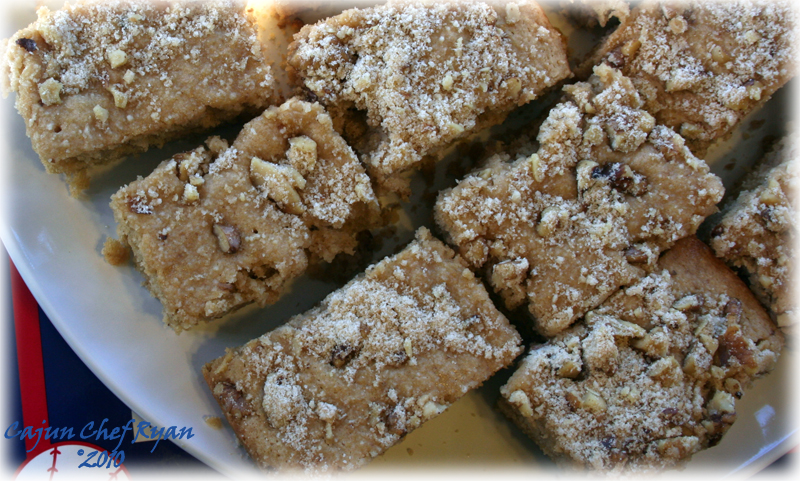
This recipe prepared in a 9×13 pan, makes about 18 servings, preparation time is about 30 minutes, and the bake time is 35 minutes. So, in just a little over an hour you can have some tasty breakfast buttermilk coffee cake on the table.
Tip: use a food processor to cut the butter into the flour, sugar, and salt in step 2, and you can cut your preparation time to just 20 minutes.
Tip: If you do not have any buttermilk on hand, you can make a substitute of 1 1/3 cups of sour milk by taking 4 teaspoons of lemon juice or white vinegar and adding it to a 2-cup measure, and then add enough milk to make up the 1 1/3 cup of total liquid. Stir well and allow it to stand for about 10 minutes.
The recipe…
Ingredients
2 ½
Cups
All-purpose flour
1 ½
Cups
Brown sugar, packed
½
Tsp
Salt
2/3
Cup
Butter
2
Tsp
Baking powder
½
Tsp
Baking soda
½
Tsp
Cinnamon, ground
½
Tsp
Nutmeg, ground
2
Large
Eggs, beaten
1 1/3
Cups
Buttermilk
½
Cup
Walnuts, chopped
Procedure Steps
1.
Grease the bottom and sides of the 9×13-inch baking pan then set aside. Preheat the oven to 350° F if using a baking pan, or 325° F if using a baking dish.
2.
In a large bowl, combine the flour, brown sugar, and salt. Using a pastry cutter, cut in the butter until mixture resembles coarse crumbs. You can use a food processor to cut in the butter also, which speeds up the process and cuts your preparation time by about 10 minutes. Set aside ½ cup of the crumble mixture. Then stir in the baking powder, baking soda, cinnamon, and nutmeg into the remaining crumble mixture.
3.
In a medium bowl, combine the eggs and buttermilk. Add the egg mixture to the crumble mixture, stirring just until moistened.
4.
Spoon batter evenly into prepared 9×13-inch baking dish. In a small bowl combine the reserved ½ cup of crumble mixture with the walnuts and sprinkle evenly over the batter.
5.
Bake for 35 minutes or until a toothpick or cake tester inserted into the center comes out clean. Allow the coffee cake to rest for 10 minutes before cutting, then serve warm with your favorite hot coffee or tea.
More snaps…
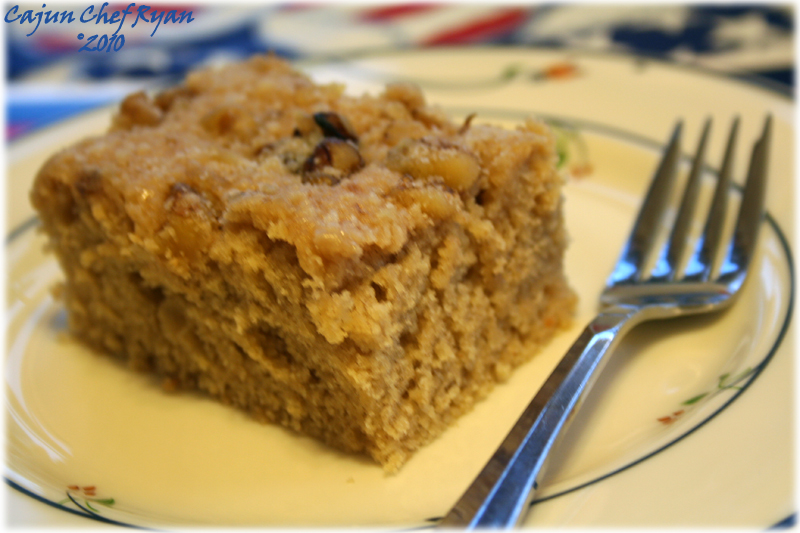
Buttermilk Coffee Cake just out of the oven cooling
This is my mom and dad Cajun dancing at a crawfish boil we threw in our back yard many years ago, with the huge fig tree in the background. Circa 1992.
The last time I canned anything was about fourteen years ago when we had two huge fig trees in our back yard in New Orleans. About this time of year and for two to three weeks between the end of June and the first few weeks of July, we would have figs coming out of our ears. The children would help pick too and we would have gallon sized plastic zip bags full of the ripe figs sitting on our fridge shelves, and giving away most of them before they went bad. On Several occasions, we would make fig preserves with mostly a lot of sugar, and some orange peel along with the whole figs, cooking them down into a thick jam-like consistency, and then put them up in half-pint jars. They lasted years and were just as good as the first batch.
This is now, a garden of abundance…
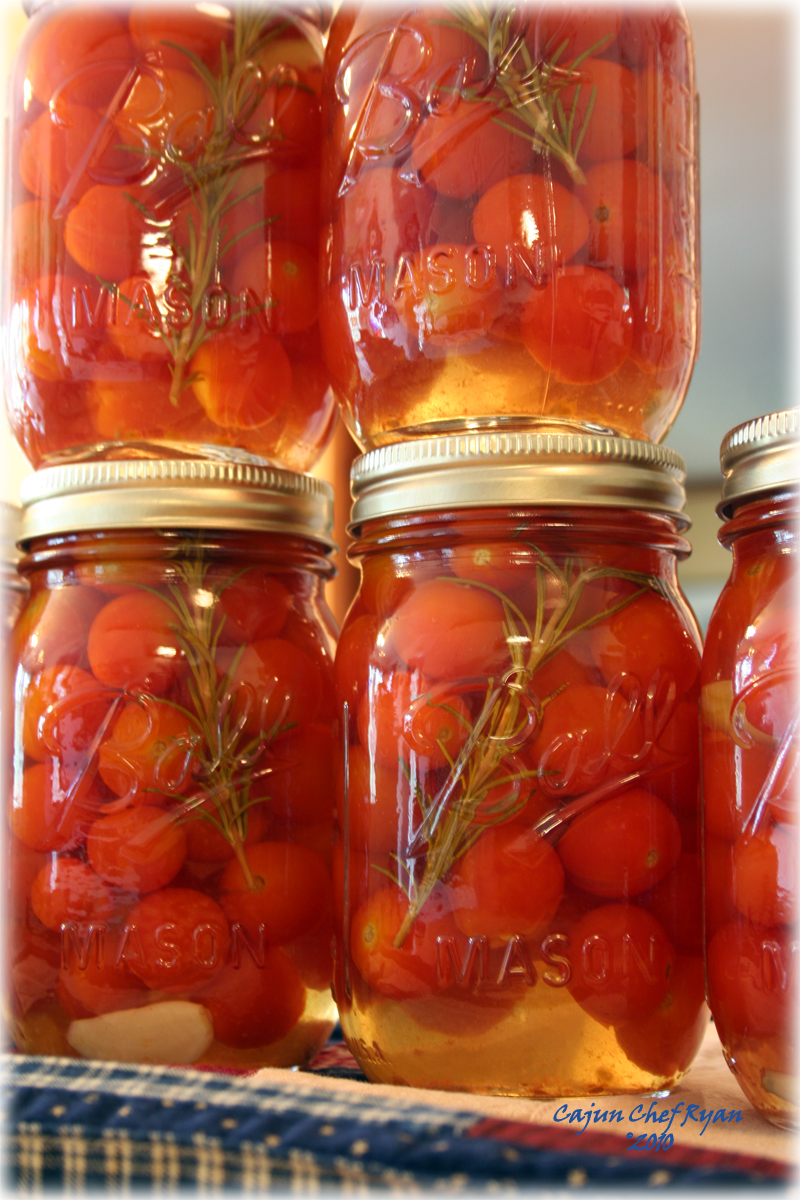
Pickled “Sweet 100” Grape Tomatoes
No more fig trees, but we now have an abundance of tiny grape tomatoes, the “Sweet 100” variety to be exact, along with plenty of cucumbers in our garden this year. So, finally found a great way to put up the diminutive tomato morsels with a pickling recipe from the Ball Blue Book guide to preserving, the 100th Anniversary Edition which was printed in 2009. In addition, since the book is used as a guideline I modified the recipe to suite my tastes and used only ½ the amount of white wine vinegar, replaced the other ½ using cider vinegar and in place of the white vinegar, and doubled the amount of garlic in the recipe.
The next time I process the pickled grape tomatoes, I may add some form of fresh peppers to help add a hotter flavor profile.
This recipe will yield about six 1-pint jars of pickled grape tomatoes.
The recipe…
Label for the Pickled “Sweet 100” Grape Tomatoes with the new CCR Logo
Ingredients
1 ½
Quarts
Grape tomatoes
1
Tsp
Salt
1
Cup
White wine vinegar
2
Cups
Cider vinegar
1
Quart
Water
12
Cloves
Garlic, peeled, whole
6
Sprigs
Fresh rosemary
Procedure steps
1.
Wash the grape tomatoes and drain them to dry.
2.
Combine the salt, white wine vinegar, cider vinegar, water, and whole garlic in a medium saucepan and bring to a boil, then simmer for 10 minutes.
3.
Prick the grape tomatoes with a paring knife to help prevent them from splitting or cracking. Then pack the grape tomatoes in hot 1-pint jars and leaving a ¼-inch headspace. Ladle the warm pickling liquid leaving a ¼-inch headspace, and be sure to add two cloves of garlic to each jar and one rosemary sprig.
4.
Remove any air bubbles, and then place the two-piece lids and rings onto each jar. Process the jars in a boiling-water canner pot with 1 to 2 inches of water covering the tops of the jars for 10 minutes at 212° F with the canner lid on.
5.
Turn off heat and remove lid from pot, allow the jars to sit in the hot water for 10 more minutes, then remove the jars and allow them to cool on a kitchen towel for 12 to 24 hours. Label and date then store the jars of pickled grape tomatoes for up to 1 year.
Pickled “Sweet 100” Grape Tomatoes
Next items up on the canning agenda…
…new pickle cucumber salad, bread and butter pickles, fresh salsa, fire roasted tomato sauce, east meets west barbecue sauce, oh my!
As you may know from my previous post on Grilled Vegetables, I prefer charcoal for my grilling. So when Foodbuzz asked me to participate in the Tastemaker Program for some free turkey meat and a free Flip™ Video Ultra HD Camcorder I said yes! And they approved it too!
Last week the Flip arrived and then a few days later a huge box of turkey too! So, weekend before last, and over the course of three days of filming and two days of post-production we created this neat video of our Foodbuzz Tastemaker Program “Grilling Turkey”. Thank you Foodbuzz and Shady Brook Farms for the wonderful turkey meat and the Flip™ Video Ultra HD Camcorder!
Perfect timing too with another tasting sample, we got in a box of Nature’s Pride Premium Harvest Buns and Rolls also. All told, as part of the Foodbuzz Tastemaker Program, I received four containers of ground turkey meat, four containers of turkey brats, the Flip™ Video Ultra HD Camcorder, a pack of Nature’s Pride Premium Harvest Whole Wheat Buns, one pack of Wheat Buns, and one pack of Hoagie Rolls.
First, here is the video for your viewing pleasure!
I am sharing with you two recipes, the Turkey Brats and Beer, and the Garden Turkey Burgers too! Enjoy!
Grilled Turkey Brats and Beer
Ingredients
2
Lb.
Turkey Brats, 12 links
2
Bottles
Dark beer, like porter
1 ½
Cups
Onions, julienne
12
Each
Hoagie Rolls
Procedure Steps
1.
Place the brats and onions in a large pot, add the beer to cover and stir the onions between the brats. Bring to a boil and simmer for 30 minutes, or until brats are cooked through and no longer pink.
2.
Grille the brats six inches from the coals until browned on all sides. Return to the beer to keep warm.
3.
Serve on the brats on Hoagie Rolls with the onions.
Garden Turkey Burger
Ingredients
2
Lb.
Ground turkey meat
2
Cups
Onions, diced
1
Cup
Carrots, shredded
1
Cup
Peppers, diced
2
Large
Eggs, beaten
½
Cup
Panko breadcrumbs
1
Tbsp
Italian Seasoning
¼
Cup
Parmesan cheese, shredded
To taste
Fresh cracked black pepper and salt
1
Tbsp
Finger Lickin’ Rub
8
Each
Whole Wheat Hamburger Buns
Procedure Steps
1.
Combine the ground turkey meat with the onions, carrots, peppers, onions, eggs, panko breadcrumbs, Italian seasoning, parmesan cheese, black pepper and salt.
2.
Portion into 4 ounce patties. Season with the Finger Lickin’ Rub, then grill six inches from hot coals until cooked through.
3.
Optional: Add sliced tomatoes, shredded Vermont cheddar, Gorgonzola crumbles, or any of your favorite toppings. Serve with the whole wheat buns.
The turkey brats and garden turkey burgers are a wonderful treat for our grilling pleasure! I hope you like them too!