On June 26th I received an email from Sarah Haverkamp of Weber Shandwick Worldwide, a PR firm representing Zatarain’s.
Hi Ryan!
My name is Sarah Haverkamp and I am working on behalf of Zatarain’s. I was looking at your blog today and I noticed that a portion of your blog is devoted to various cooking contests. I thought you and your readers would be interested in the contest we are holding.
New Orleans’ own Chef John Besh and Zatarain’s – the brand serving up New Orleans-Style cuisine for 120 years – are challenging cooking enthusiasts across the country to a “Jambalaya Throwdown.” And we want to challenge you to start your own Jambalaya Throwdown on your blog.
We have some awesome kits that we’d love to send your way to get you and your readers started – including Zatarain’s jambalaya mix, cooking utensils and a chef’s apron!
If you’re up for the challenge, let me know – We hope you participate!
Have a great day and I look forward to hearing from you!
Sarah
Sarah Haverkamp
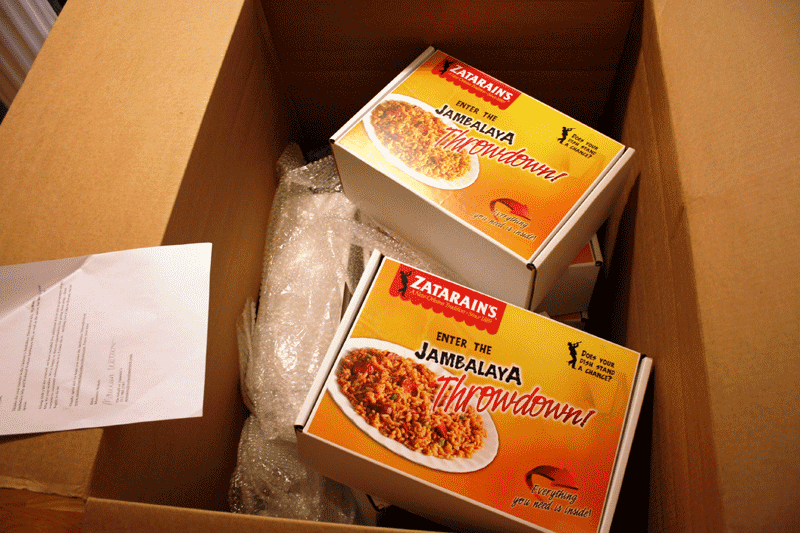
Of course I replied to the email with interest and so yesterday on the front porch sat a huge box awaiting for me upon my return home from work. Once inside I opened the contents and found this collection of boxes:
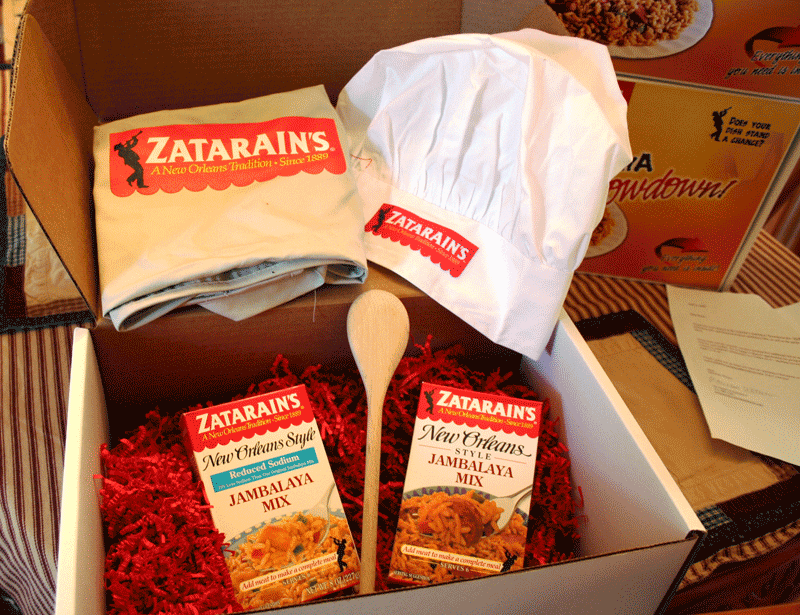
And so I had to take a peek inside to see the spoils and here is what is included with each “Jambalaya Throwdown Kit”:
A Zatarain’s apron, cloth chef hat, wooden spoon and a box of Zatarain’s Reduced Sodium Jambalaya Mix and a box of Zatarain’s Jambalaya Mix.
To enter the contest you will need to use their Jambalaya mix, so here is where my portion of the contest begins. If you would like to enter the Cajun Chef Ryan Zatarain’s Jambalaya Kit Contest for a chance to win a Jambalaya Throwdown Kit just comment on this blog post and list your favorite Jambalaya ingredient. I will keep the contest open until Monday, July 13, 2009 and then I will run a random pick for the winners on Tuesday, July 14, 2009. The kits will be shipped to your address free of charge. And then you can start creating your own Zatarain’s Jambalaya too.
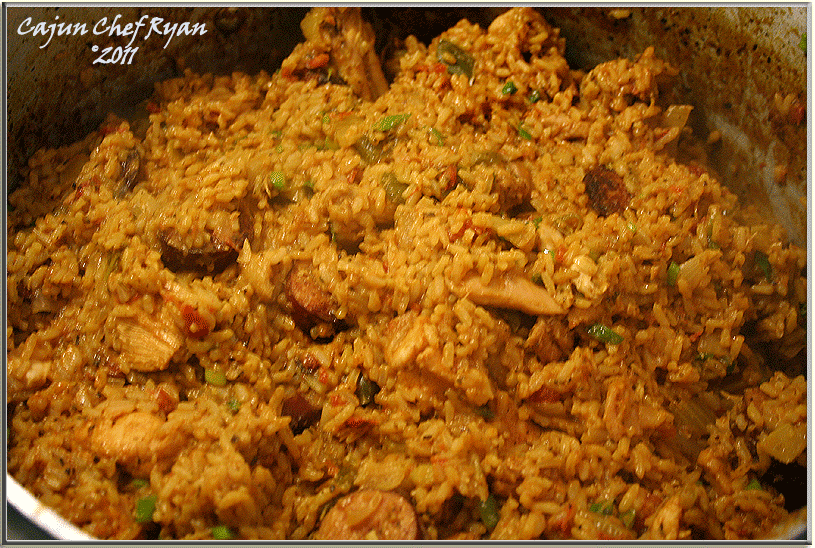
If you have never made a Jambalaya, you might try one that I have made for many years, my Chicken and Sausage Jambalaya.
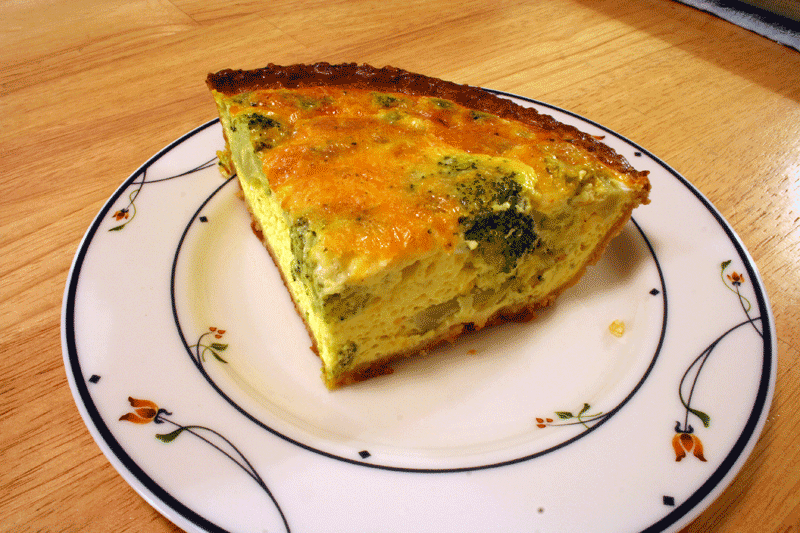
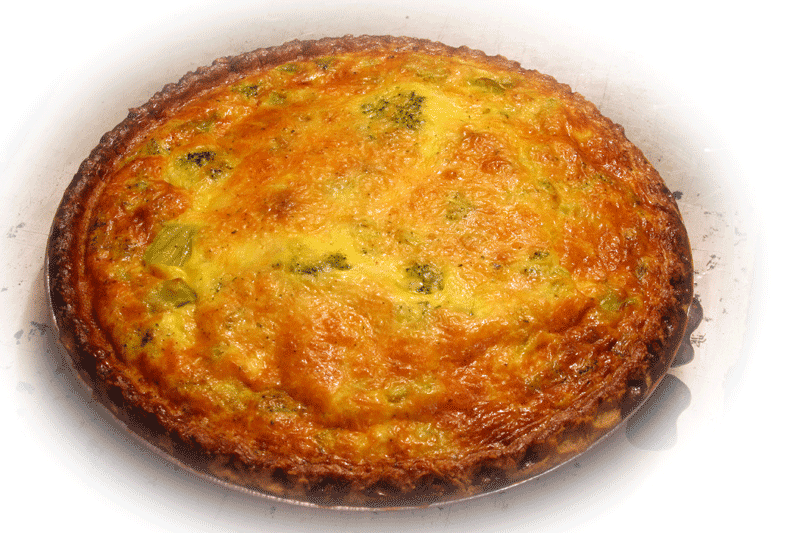
Quiche is one of those dishes that has so many varieties of fillings and is really easy to prepare, so it is a wonder that we don’t eat it more often. It seems to be an overlooked meal item on restaurant menus these days, and its popularity has waned a bit over the years, you just don’t see it often when dining out anymore. But at home the leftovers are so easy to keep and re-heat too; it just makes sense when we prepare it once in a blue moon. It only takes about 10 minutes to prepare the set up and then bake in the oven for 45 minutes and dinner is ready in just an hour or so.
I like it because I can spend just about 15 minutes in the kitchen after a long day at work and then in the oven for the rest of the hour, giving me enough time to head out into the yard and tend the garden, pick some tomatoes, water the herbs and shoo away the invasive bugs. I have to admit that a few tomatoes end up being devoured before they make it back into the house.
This recipe is for the broccoli and cheese version, but the great thing about this quiche recipe is you can substitute any type of cheese for the ½ pound of cheddar, as well, the 2 cups of broccoli can be replaced with 2 cups of spinach, tofu, bacon crumbles, diced ham, cooked sausage chunks, cooked tiny shrimp, crab meat, or other seafood as well. The variations are only limited by your pantry and imagination.
Ingredients
1
Each
Pie shell dough, 9-inch, deep dish
6
Large
Eggs, cracked
1
Cup
Milk
8
Ounces
Cheddar cheese, shredded (divided)
2
Cups
Broccoli florets, steamed and cooled
To taste
Salt and white pepper
¼
Tsp
Nutmeg
Procedure Steps
1.
Preheat oven to 350° F. and using a fork prick the shell dough to prevent air bubbles from forming and then brown the pie shell crust in the oven.
2.
While the pie shell crust is browning whip the eggs then add the milk and ½ of the cheese in a medium bowl.
3.
Fold in the steamed and cooled broccoli florets and then add the salt and white pepper and nutmeg to the egg mixture.
4.
When browned removed the pie shell crust from the oven and place it on a cookie sheet pan.
5.
Pour the egg, cheese and broccoli filling into the browned pie shell then sprinkle the remaining ½ of the shredded cheddar cheese on top of the filling.
6.
Return the filled pie shell to the oven and on the cookie sheet to catch any filling that may spill, this also prevents any burning. Bake for 35 to 45 minutes or until the quiche is puffed up and set.
7.
Remove from the oven and allow to rest for 5 minutes, then slice into either 4 or 8 portions.
This recipe has become a family favorite since we first made it in 2001 when Monique bought a copy of the Weight Watchers Magazine Six O’Clock Solutions cookbook. Found on page 49, this recipe for chicken enchiladas is quick, easy and for those who follow the Weight Watchers points system each one is only 6 points. The original recipe calls for 8 servings; however, with doubling it I was able to actually yield 20 enchiladas, so the points per enchilada will actually be a bit less than stated. Essentially this changes the recipe from 2.5 ounces of chicken per enchilada to just 2 ounces each.
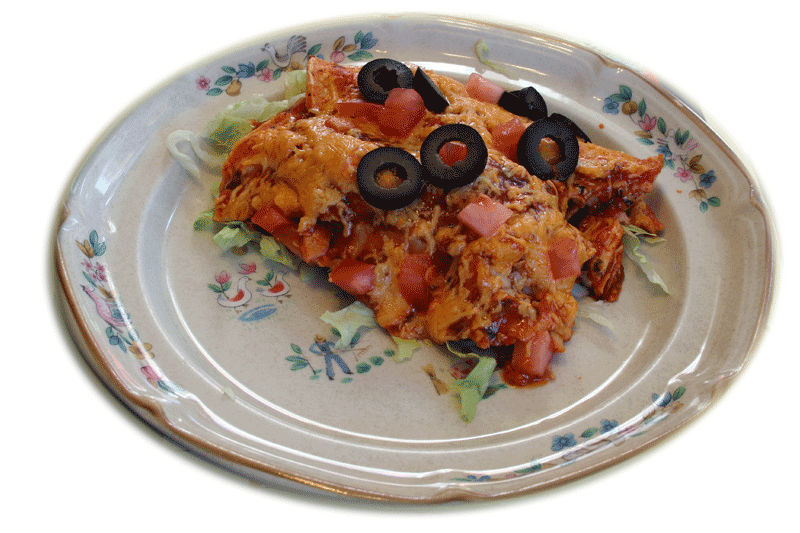
We prepared a double batch of these Monday night (06/22/09) in celebration of Bryan arriving to town, and within an hour we were diving into our favorite enchiladas, everyone went back for seconds too. The fresh chopped cilantro and jalapeno are sautéed with some onions and then the canned enchilada sauce is added with the shredded chicken. I’ve modified the recipe some as the original calls for boiling the chicken breast in water until done then shredding the meat. I prefer to grill the chicken instead, and before doing so I like to season the chicken first so I add some of my Finger Lickin’ Rub to the chicken breast meat and then grill it on both sides until done. Then I allow the grilled chicken breasts to sit for 5 minutes before shredding. The grilling does not add any more fat or calories because no oil is used, but it adds that charcoal grilled flavor that allows the chicken breast to develop that smoky outdoor tang that I just love.
This video short embedded below demonstrates the corn tortilla dunk, filling and rolling the enchiladas, topped them with cheese and baking in the oven. Then garnishing the pan of baked enchiladas with the diced tomatoes, sliced black olives and then served up on a plate over a bed of shredded lettuce ready to eat. I am sure you will enjoy this recipe with your family as much as we have over the years.
Ingredients
2
Tbsp
Finger Lickin’ Rub
2 ½
Lbs.
Chicken breast, boneless, skinless
1
Tsp
Olive oil
¼
Cup
Onions, small diced
¼
Cup
Cilantro, chopped fine
2
Each
Jalapeno, seeded and minced
60
Ounces
Enchilada sauce
20
Each
Corn tortillas, 6-inch round
3
Cups
Cheddar cheese, shredded, reduced-fat
1
Cup
Tomato, diced
1
Cup
Ripe olives, sliced
10
Cups
Iceberg lettuce, finely shredded
Procedure Steps
1.
Preheat oven to 350° F.
2.
Season chicken breasts with the rub then grill on both sides until done. Allow to rest for 5 minutes then shred with a fork and set aside.
3.
Add the olive oil to a non-stick sauté pan and place over a medium-high heat until hot. Add the onion and sauté until soft and translucent, add the cilantro and jalapeno and sauté until mixed well, or about 2 minutes.
4.
Add the shredded chicken and stir well to incorporate all the ingredients. Then add the enchilada sauce, stir well and bring to a simmer for 5 minutes, stirring occasionally.
5.
Dip the corn tortillas, 1 at a time into the enchilada sauce and transfer to a sheet pan. Then add a portion of the chicken and roll up the tortilla around the chicken with the seam side down. Continue until all tortillas are filled and rolled with the chicken.
6.
Pour the remaining enchilada sauce over the enchiladas, and then sprinkle the shredded cheese evenly over the top. Bake in the pre-heated 350° F oven for 15 minutes, or until the cheese is melted and the enchiladas are heated through.
7.
Remove from the oven and then evenly garnish with the tomato and olives. Serve each enchilada over a bed of ½ cup of shredded lettuce.
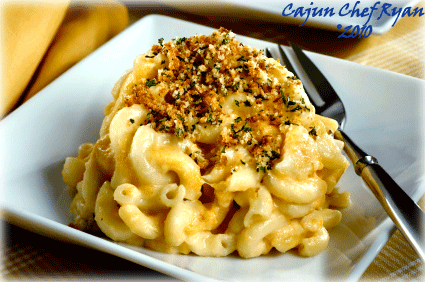
Yesterday I threw together a batch of scratch mac with four cheeses for Ben to get in some good carbs before his baseball game. A half hour later he and I were eating some fresh hot mac and cheese. Ate some more for lunch today and dinner tonight too. Only a little bit left. So I Twittered this on Foodbuzz last night and I got a few comments and a request to post the recipe from Frieda aka Lovin’ from the Oven… and more!
Ingredients
1
Lb
Elbow macaroni
3
Quarts
Water
1
Tbsp
Olive oil
3
Cups
Milk
2
Tbsp
Cornstarch
¼
Cup
Cool water
1
Lb
Sharp cheddar cheese, grated
¼
Lb.
Swiss cheese, grated or cubed
¼
Lb.
American cheese slices, cut into ½ pieces
¼
Tsp
Nutmeg
2
Tsp
Salt (divided)
½
Tsp
White pepper
1
Cup
Parmesan cheese, shredded
Procedure Steps
1.
Set a large pot over high heat on the stove with 3 quarts of water, 1 Tsp salt and 1 Tbsp olive oil and bring to a boil. When the water comes to a boil add the elbow macaroni and cook until al dente then drain in a colander.
2.
While the water is getting ready to boil take a 2 quart or larger sauce pot and add the milk and whisk occasionally over medium high heat. Mix the 2 Tbsp cornstarch with the ¼ cup cool water and dissolve well to form a slurry then whisk the slurry into the warm milk.
3.
Continue to warm the milk over medium-high heat and fold in all the cheeses one at a time and gently whisk until melted and incorporated into the thickened milk. Then turn down the heat to medium-low.
4.
Whisk in the nutmeg, salt and white pepper until incorporated.
5.
Continue to heat the cheese sauce over a very low heat a few more minutes or until a sauce consistency.
6.
Drain the cooked pasta into a colander and shake the excess water then return the pasta to the pot. Gently pour the cheese sauce over the macaroni and stir well.
7.
Serve immediately with the shredded parmesan cheese on top.
8.
Optional: If you want a baked macaroni transfer the pasta and sauce to a baking dish then evenly top it with a mixture of 2 cups Italian bread crumbs and ½ cup melted butter. Then bake in a 350° F oven for 30 minutes or until golden brown on top.