June 17th, 2023 · Comments Off on Grilled Miso-Glazed Cod: A Healthy and Delicious Recipe
Points: 3 ~ Total Time: 2 hours 25 min ~ Prep Time: 10 min ~ Cook Time: 15 min ~ Serves: 4
If you’re looking for a flavorful, healthy, and easy-to-make fish dish, look no further than this grilled miso-glazed cod recipe. Miso, a traditional Japanese ingredient, adds a delightful umami flavor to the delicate cod, making it a standout dish that will impress your family and friends. Packed with protein and essential nutrients, this recipe is not only delicious but also a great addition to your balanced diet. So fire up your grill and get ready to enjoy this mouthwatering culinary creation! Serve the cod with a side of steamed broccoli for a well-rounded meal
Check out my quick video short below on how I grilled the cod on my gas grill, outside with some pecan smoke coming from the smoker chamber on my Pitt Boss.
Miso Marinated Grilled Cod with a side of steamed broccoli
Ingredients
cooking spray
3 tablespoons white miso
1 1/2 tablespoons brown sugar
1 tablespoon sake
1 tablespoon mirin
4 5-ounce cod filets, skinless
2 tablespoons green onions, sliced
Procedure Steps
In small bowl, whisk miso, sugar, sake, and mirin and spread over fish. Cover and refrigerate for at least 2 hours or up to 1 day.
Off the heat, coat grill rack or grill pan with nonstick spray. Preheat gas grill or grill pan to medium-high, or prepare medium-high fire using charcoal.
Remove fish from marinade and reserve marinade. Lightly spray the filets with more cooking spray, then transfer the fish filets to the grill, and grill fish for 5 minutes. Turn fish over and brush with reserved marinade. Continue to grill until fish is opaque and flakes easily with a fork, about 5 minutes. Garnish fish with scallions before serving.
Grilled miso-glazed cod is a fantastic dish that combines the delicate flavors of the fish with the rich umami taste of miso. This recipe offers a healthy and delicious way to incorporate more fish into your diet while impressing your taste buds. The combination of tangy miso, sake, and mirin with the brown sugar sweetness creates a delightful sweet and sour balance that will have you coming back for seconds. So fire up your grill, follow these simple steps, and enjoy a flavorful and nutritious meal that will please everyone at the table.
Looking for a delectable dessert that satisfies your sweet tooth without the guilt? Look no further! In this blog post, we’ll share a mouthwatering recipe for a sugar-free raspberry pie. By using fat-free prepared graham cracker crust, Greek non-fat raspberry yogurt, sugar-free raspberry Jell-O, and sugar-free Cool Whip, you can create a delightful treat that will leave you craving for more. Let’s get started!
Ingredients
1 prepared reduced fat 9-inch graham cracker crust (Keebler)
Set cool whip container in refrigerator to thaw for several hours.
Pour cranberry raspberry juice in a heat proof container and place in microwave, heat for 30-seconds or until the juice starts to boil. Transfer the heated juice to a medium bowl, then stir in the raspberry gelatin packet, continue to stir for 2-minutes until all gelatin is dissolved. Allow the liquid gelatin to cool slightly. Fold in the raspberry yogurt until smooth and all gelatin liquid is incorporated. Fold in the thawed cool whip until well incorporated and the filling has an even consistency. Pour the filling into the graham cracker crust and smooth the top with a rubber spatula. Cover the pie and refrigerate for at least 2-hours.
When ready to serve, garnish the pie with the fresh raspberries and slice into 8 even portions.
Indulging in a delicious slice of sugar-free raspberry pie doesn’t mean you have to compromise on taste or health. With this simple recipe using reduced-fat prepared graham cracker crust, non-fat Greek raspberry yogurt, sugar-free raspberry Jell-O, and sugar-free Cool Whip, you can create a guilt-free dessert that everyone will love. So, go ahead and treat yourself to a delightful and satisfying slice of this sugar-free raspberry pie. Enjoy!
Raspberry Pie
Lagniappe: You can make this a key lime pie using non-fat Greek lime yogurt, sugar-free lime gelatin, and lime juice in place of the raspberry ingredients. In fact, you can make this pie any fruit flavor you want utilizing similar ingredients with various flavors, peach, cherry, strawberry are just a few options.
Comments Off on Delicious and Guilt-Free Sugar-Free Raspberry Pie RecipeTags:Desserts · Weight Watchers
June 15th, 2023 · Comments Off on Grilled Redfish with Grilled Eggplant: A Perfect Harmony of Flavors
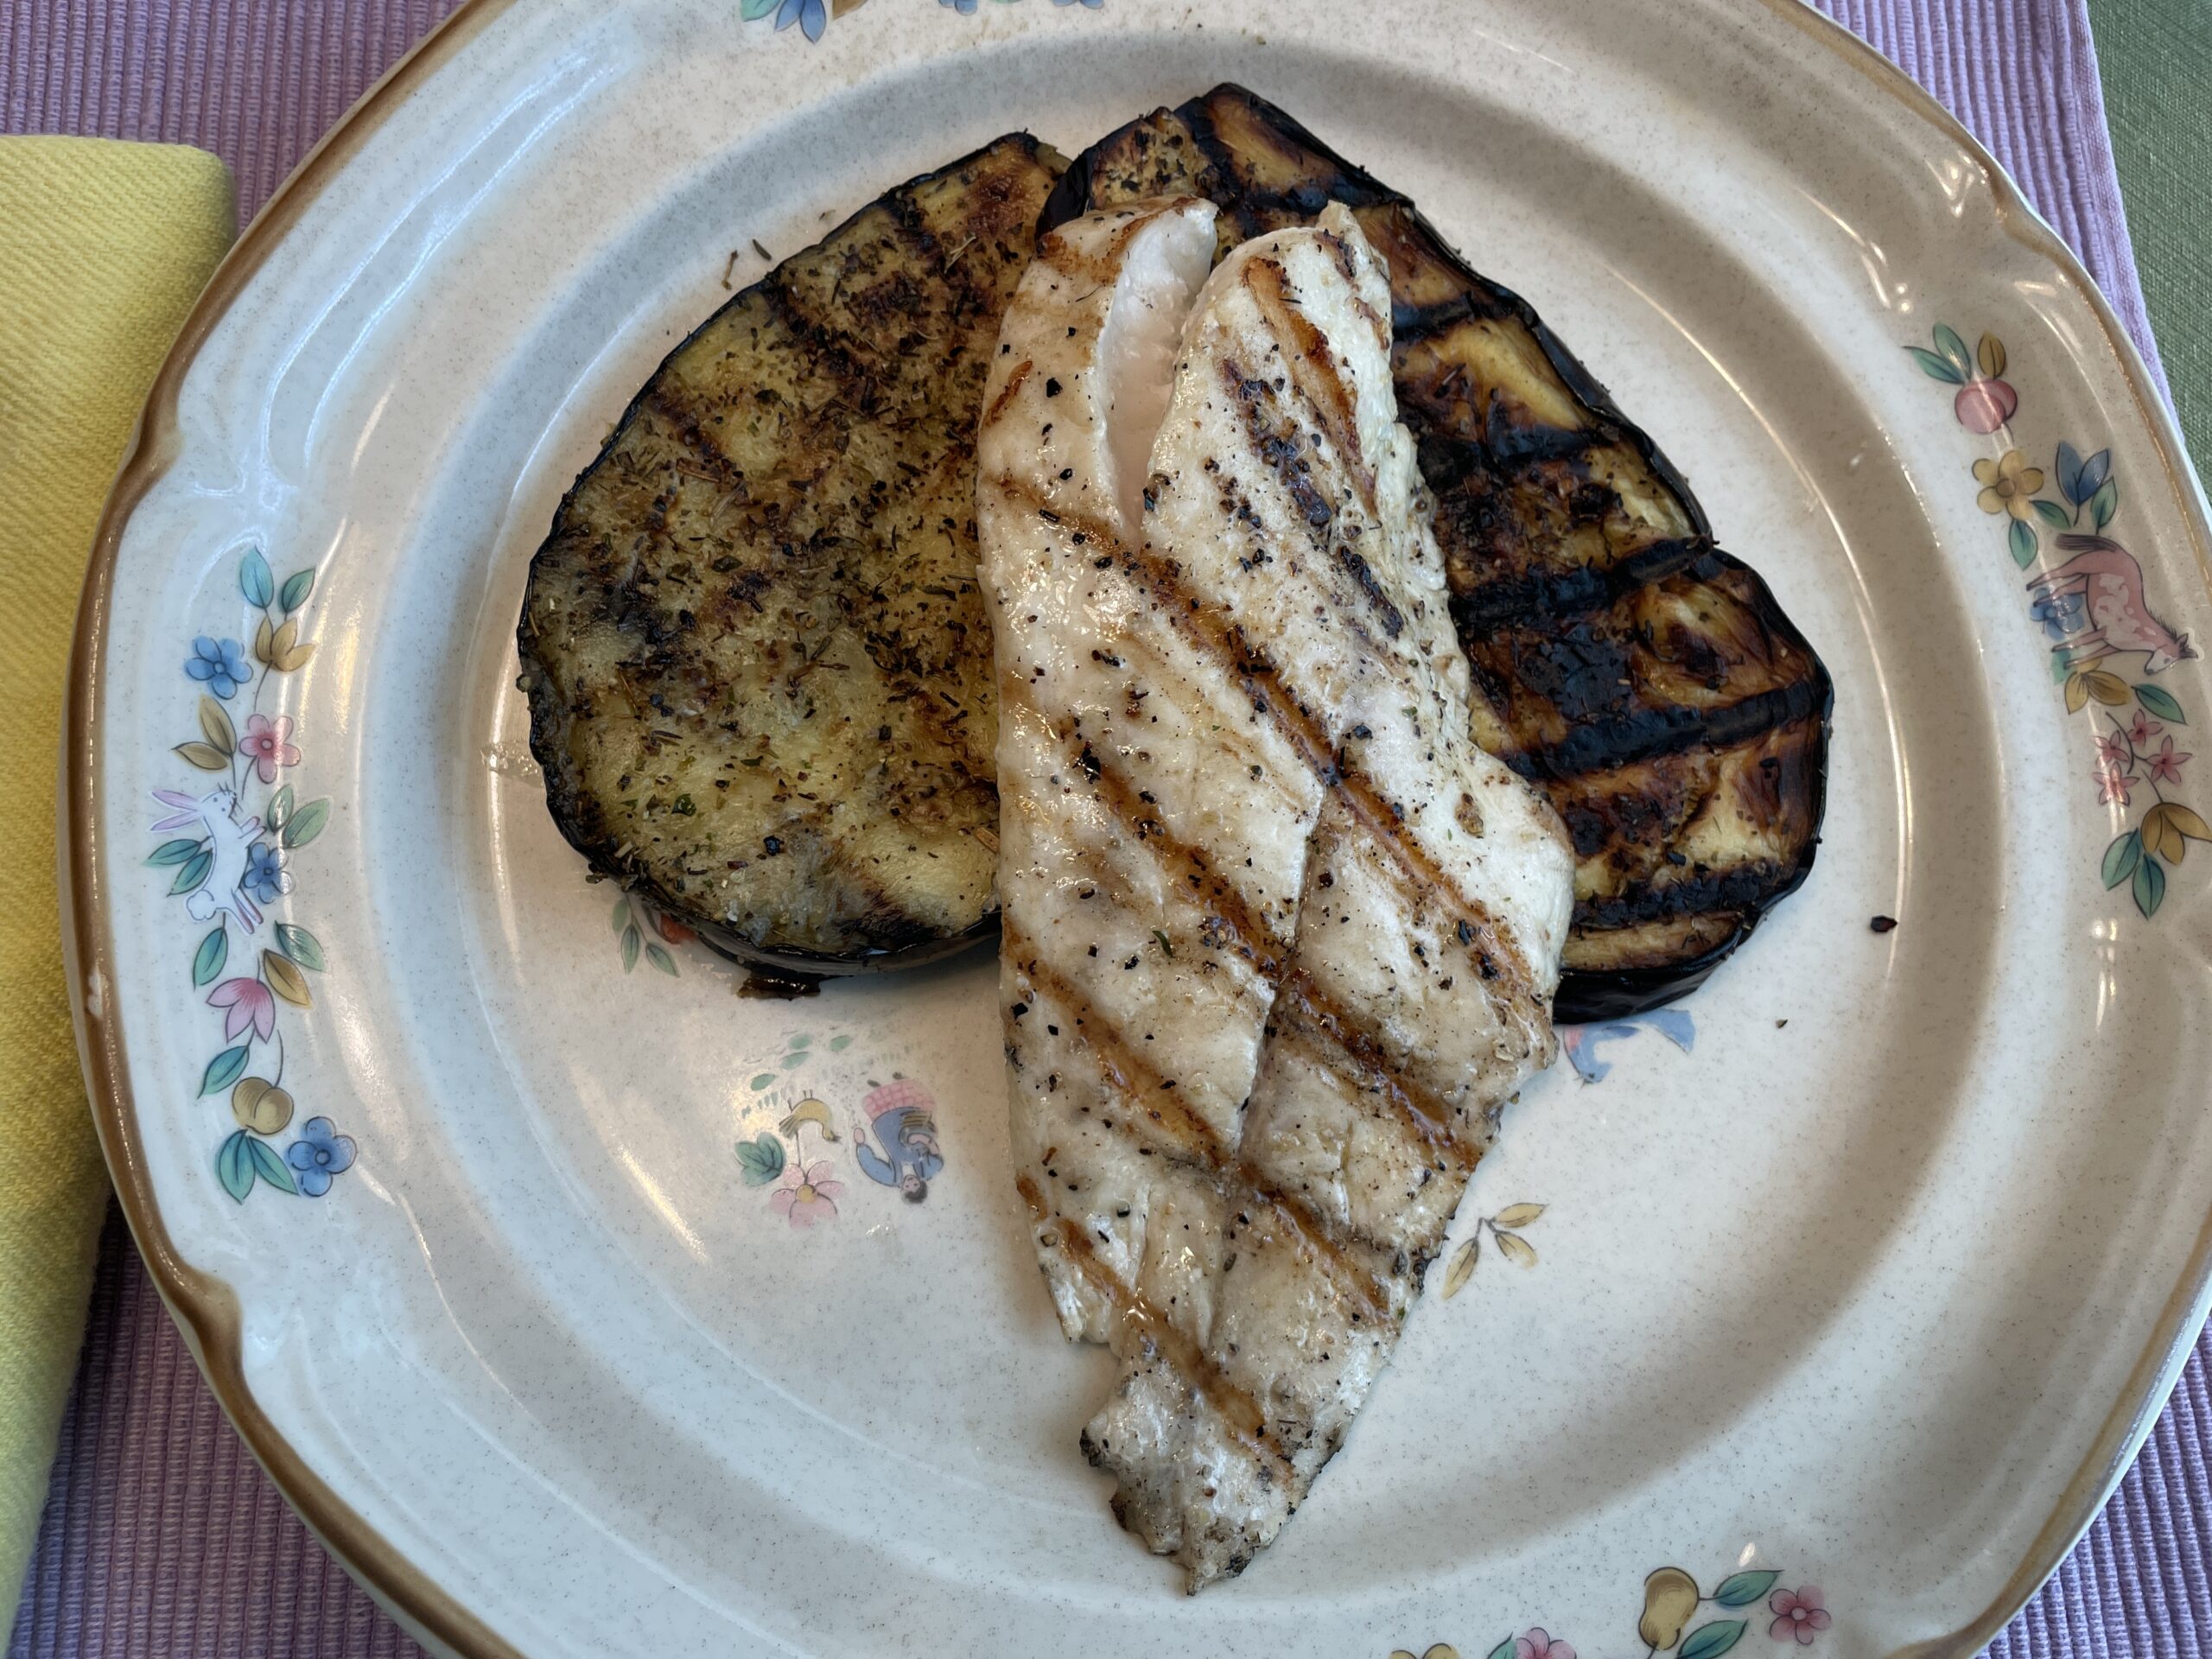
Grilled Redfish and Eggplant
When it comes to summer grilling, there’s nothing quite like the delightful combination of fresh seafood and vibrant vegetables. In this recipe, we’ll be exploring the tantalizing flavors of grilled redfish, a deliciously tender fish, accompanied by smoky and charred grilled eggplant. This dish is not only visually stunning but also a celebration of seasonal ingredients and the joys of outdoor cooking. So, fire up your grill and get ready to savor the delectable flavors of grilled redfish with grilled eggplant!
Grilled Redfish and Eggplant
Ingredients
For the Grilled Redfish:
2 redfish fillets (about 6-8 ounces each)
Salt and black pepper to taste
Cooking spray
For the Grilled Eggplant:
2 large eggplants
1 tablespoon Italian seasoning blend
Salt and black pepper to taste
Cooking spray
Preparation Steps
Preheat the grill to medium-high heat.
Place the redfish fillets on a pan and coat with cooking spray over both sides of the fillets, then season both sides with the salt and pepper.
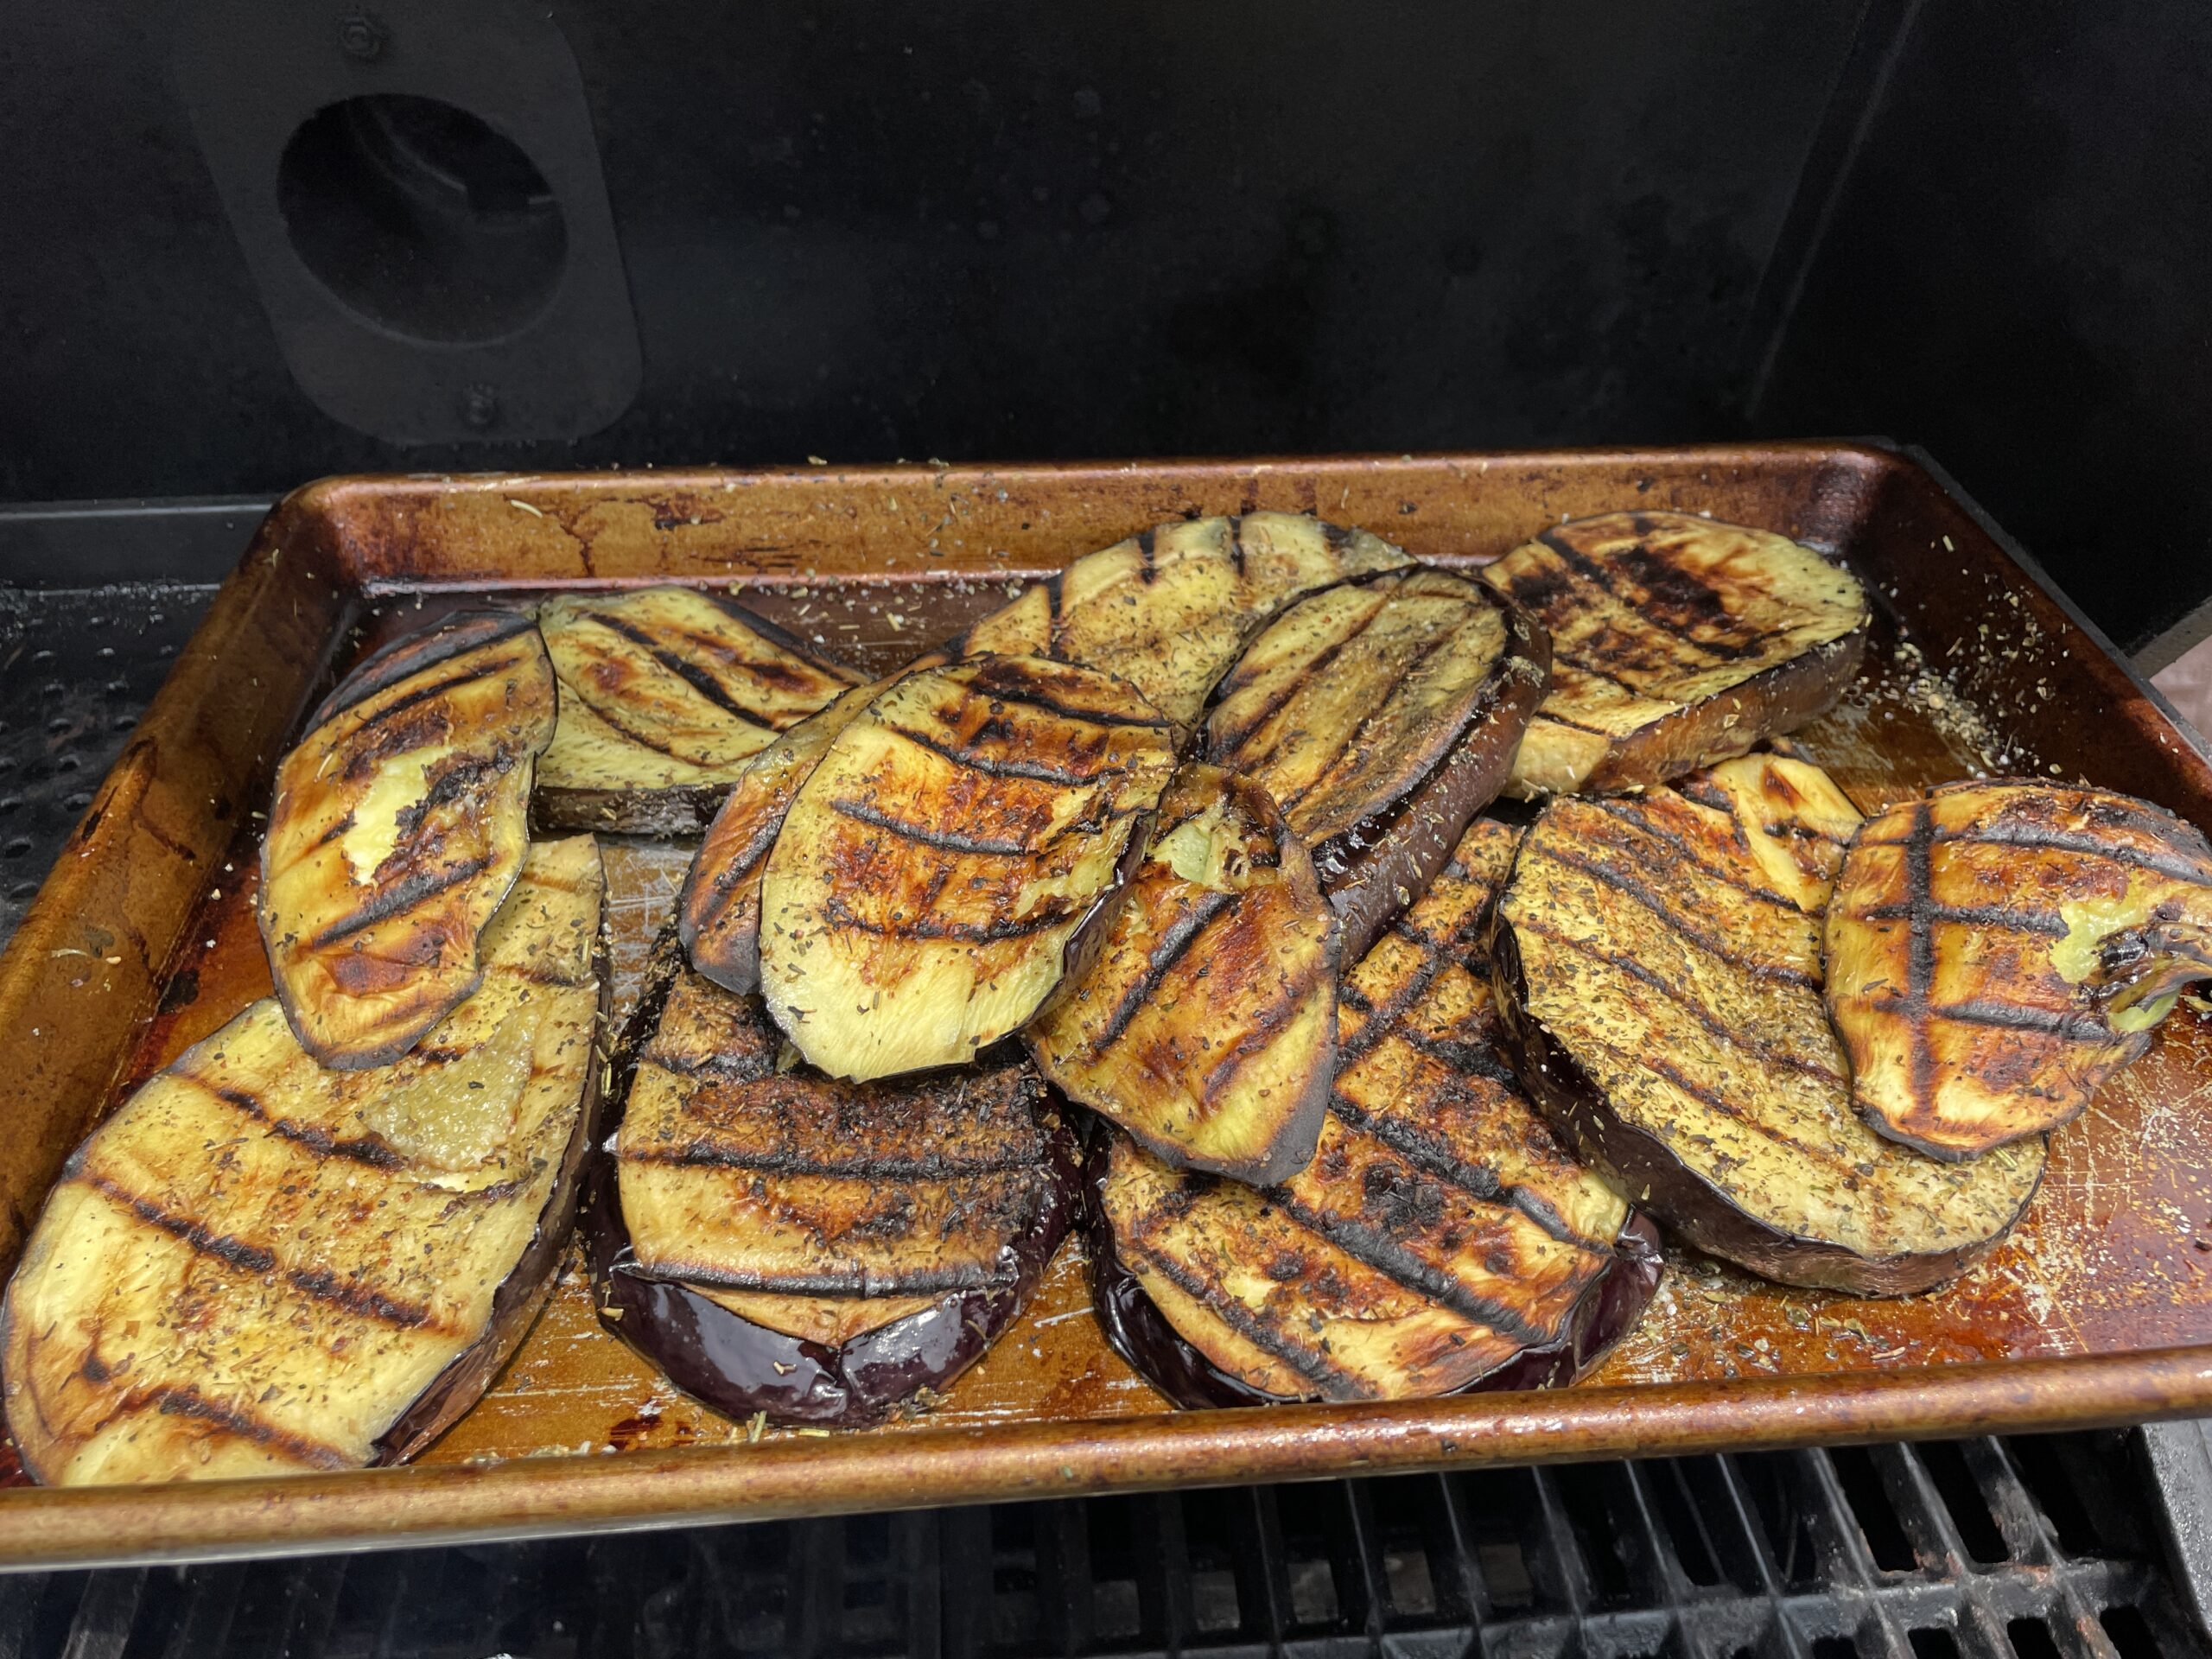
Slice the eggplants lengthwise into 1/2-inch thick slices, coat the slices with cooking spray and season with the Italian seasoning, salt, and pepper on both sides.
Coat the grill grates with cooking spray, then place the eggplant slices directly on the grates, grill on both sides for about 3-4 minutes per side. When soft and cooked through, transfer the grilled eggplant to a pan and keep warm.
Place the redfish fillets directly on the preheated grill grates, grill the redfish for about 4-5 minutes per side, or until the fish flakes easily with a fork.
Remove the redfish and eggplant from the grill and let them rest for a few minutes.
Arrange the grilled redfish fillets on a serving platter, or individual serving plates, Place the grilled eggplant slices alongside the fish. Or plate two eggplant slices then top with a red fish filet.
Lagniappe:
Garnish with fresh herbs like parsley or basil, and squeeze a little lemon juice over the top for an extra burst of freshness.
I like to use lump charcoal for my grill, and I also add in some smoke flavor using pecan, oak, cherry, maple, hickory, or mesquite wood.
The eggplant we used came fresh from our backyard garden, grow your own vegetables and enjoy a summer of local flavor.
Grilled redfish with grilled eggplant is an elegant and satisfying dish that showcases the best of summer flavors. The tender and flavorful redfish pairs beautifully with the smoky, charred eggplant, creating a harmonious blend of tastes and textures. The simplicity of this recipe allows the ingredients to shine, making it a perfect choice for a delightful summer meal. So, gather your loved ones, fire up the grill, and indulge in this mouthwatering creation. Bon appétit!
Grilled Eggplant
Comments Off on Grilled Redfish with Grilled Eggplant: A Perfect Harmony of FlavorsTags:Grilling · Seafood · Weight Watchers
June 14th, 2023 · Comments Off on Creamy Cucumber Dill Salad: A Refreshing Summer Delight
We’re excited to share a delightful recipe that embodies the essence of summer freshness. Get ready to tantalize your taste buds with our Creamy Cucumber Dill Salad! Made with crisp cucumbers from our garden, fragrant dill (also from our garden), tangy Greek yogurt, and a sprinkle of kosher salt, this salad is a burst of cool and creamy flavors that will leave you craving more. Perfect as a side dish for your next barbecue or as a refreshing snack on a sunny day, this salad is as versatile as it is delicious. So, grab your ingredients and let’s dive into this mouthwatering recipe!
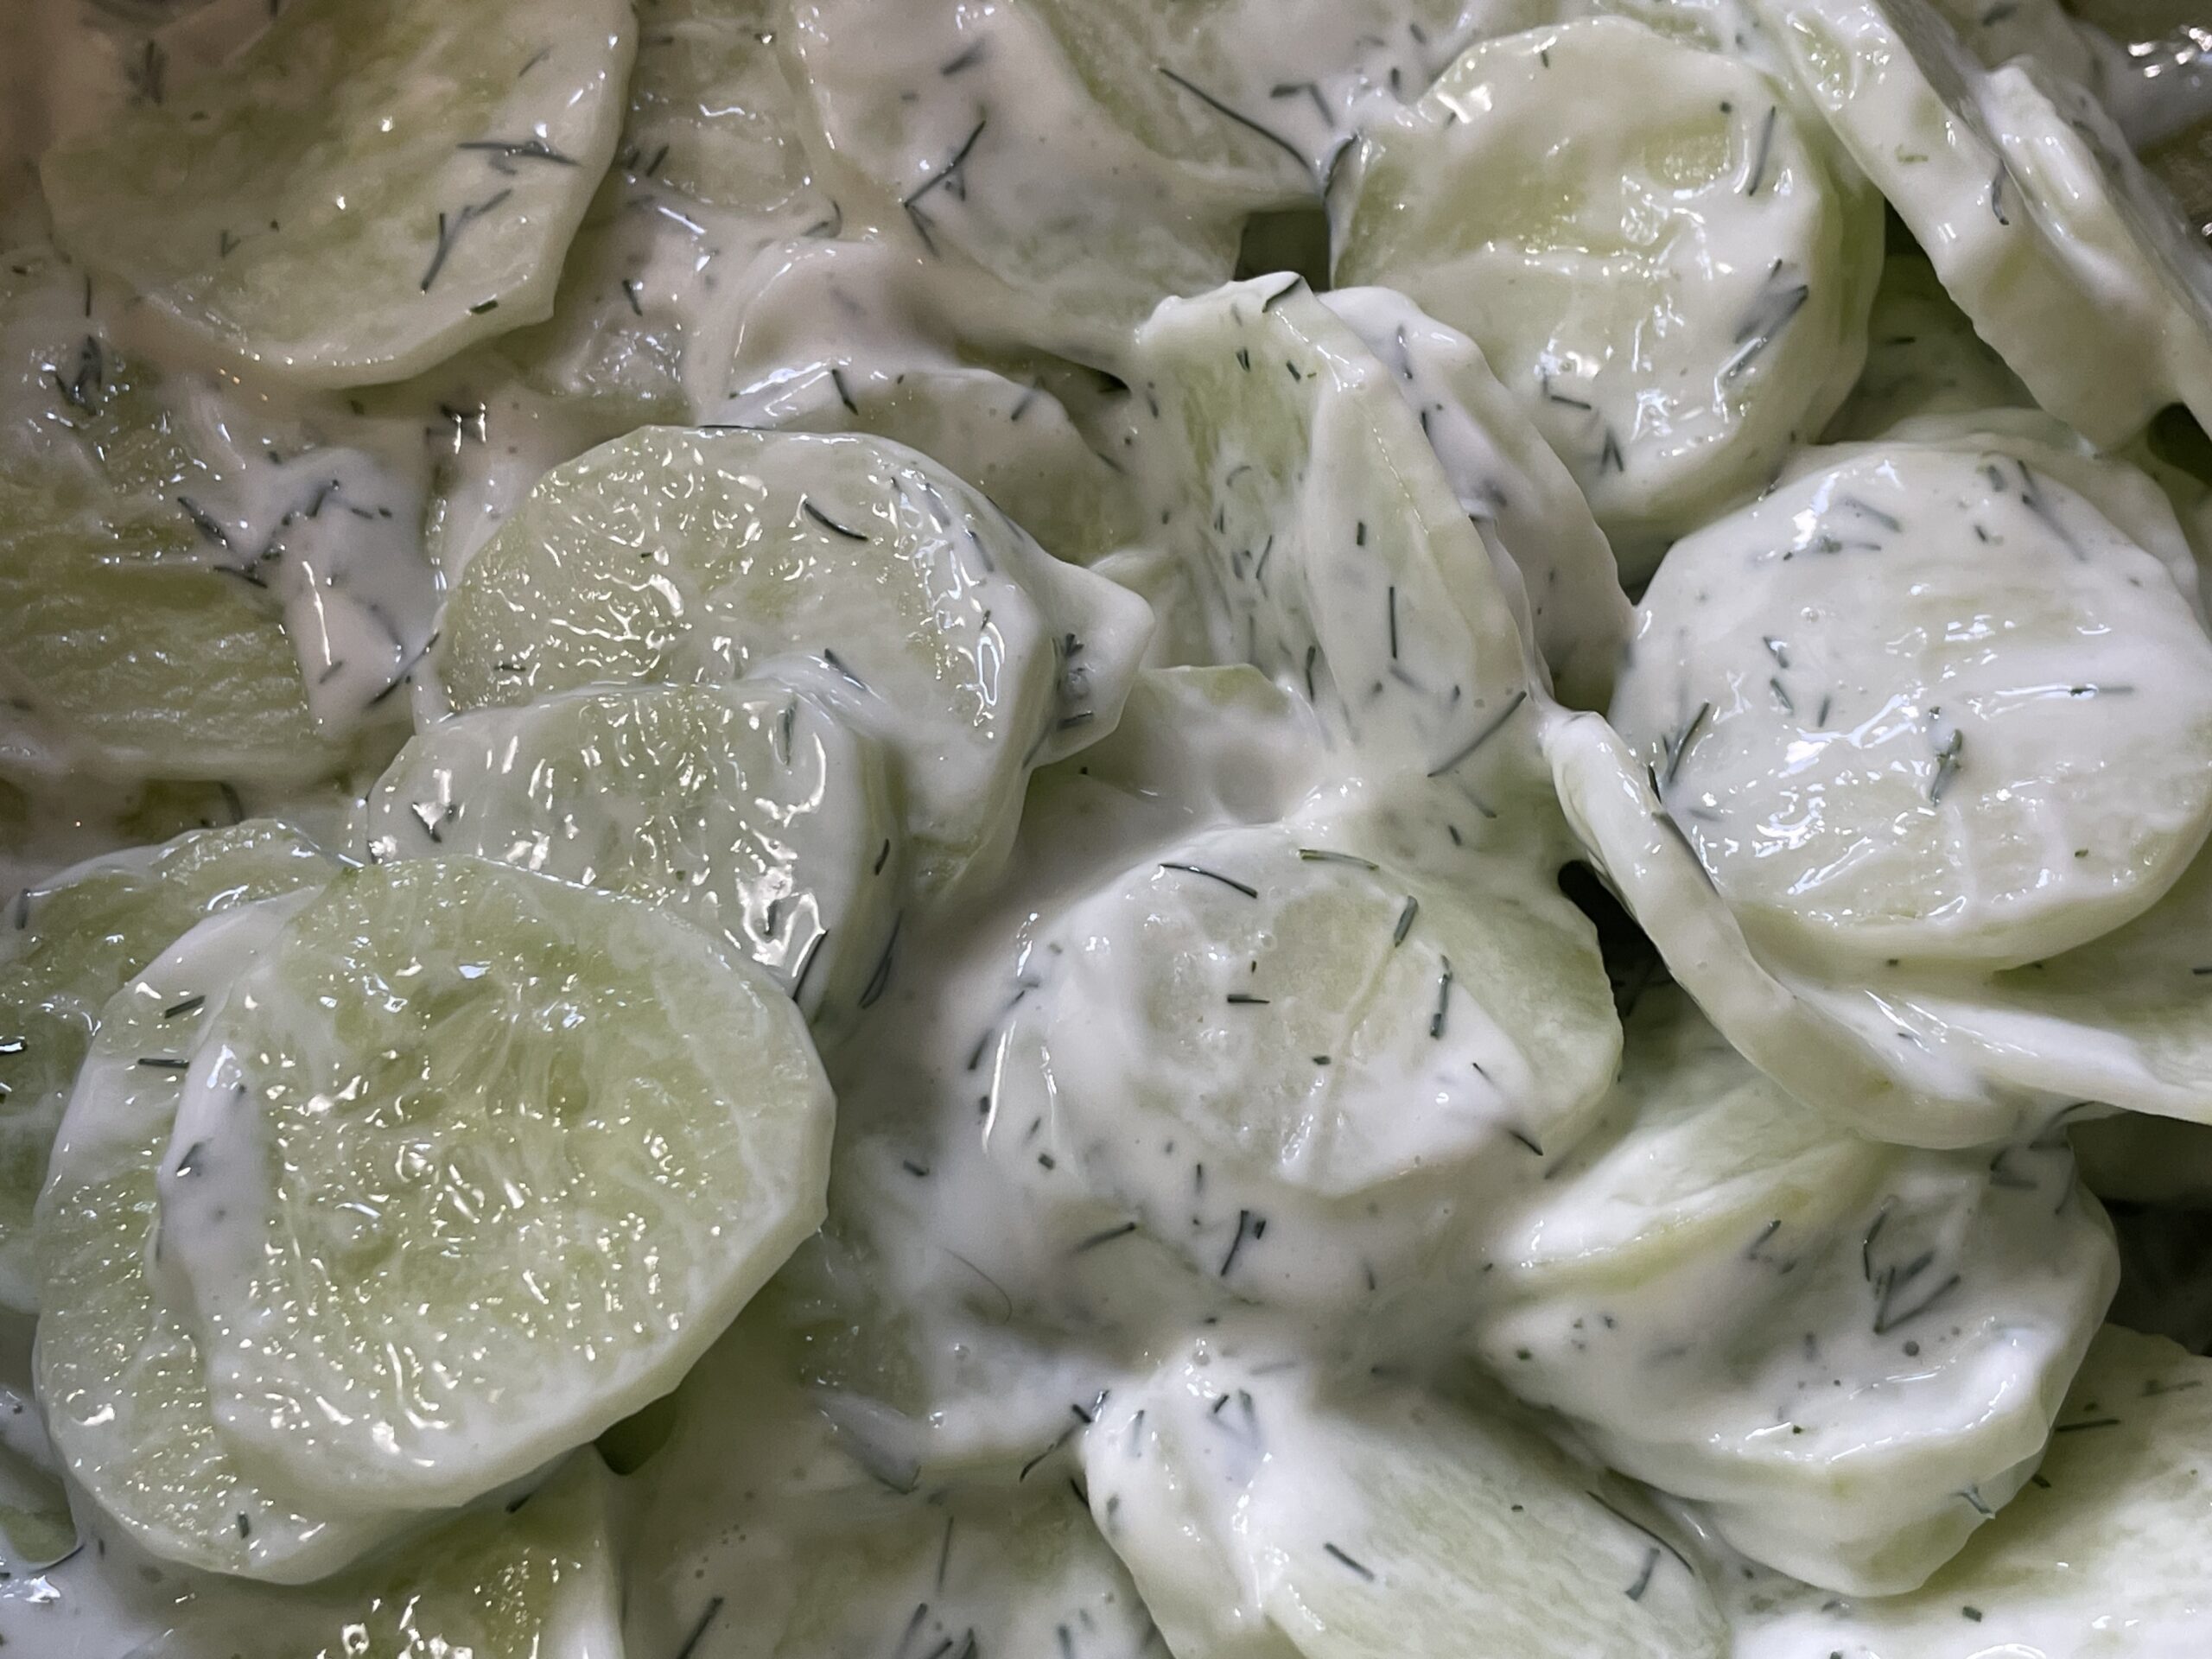
Creamy Cucumber Salad
Ingredients
2 large cucumbers, peeled and thinly sliced
3/4 cup Greek yogurt
2 tablespoons fresh dill, chopped
1/2 teaspoon kosher salt (adjust to taste)
1/4 teaspoon black pepper (optional)
Procedure Steps
Begin by thoroughly washing the cucumbers. You can peel them if desired or leave some skin on for added texture and color. Slice the cucumbers into thin rounds or half-moons, depending on your preference. Place the sliced cucumbers in a mixing bowl, ready to be transformed into a refreshing salad.
In a separate bowl, combine the Greek yogurt, chopped dill, kosher salt, and optional black pepper. Give it a good stir until all the ingredients are well incorporated, resulting in a creamy and fragrant dressing that will elevate the cucumbers to new heights of deliciousness.
Pour the yogurt mixture over the sliced cucumbers in the mixing bowl. With gentle tosses, ensure that each cucumber slice is coated with the creamy dressing. Allow the flavors to mingle, creating a harmonious blend of tangy yogurt and fresh dill.
Cover the bowl and let the Creamy Cucumber Dill Salad chill in the refrigerator for at least 30 minutes. This will not only enhance the flavors but also allow the salad to cool and refreshingly crisp up, making it even more satisfying on a hot summer day.
Celebrate the flavors of summer with our Creamy Cucumber Dill Salad. With its cool and creamy dressing, vibrant cucumbers, and aromatic dill, this salad is the true taste of the season. Whether you’re hosting a backyard barbecue, planning a picnic in the park, or simply looking for a light and refreshing snack, this salad will not disappoint. So, gather your ingredients and experience the refreshing delight of Creamy Cucumber Dill Salad – a perfect embodiment of summer in every bite!
Lagniappe:
Just before serving, take a quick taste and adjust the seasoning if necessary. If desired, sprinkle some extra chopped dill on top for an added pop of flavor and a touch of visual appeal.
Serve the Creamy Cucumber Dill Salad chilled as a vibrant side dish or as a light accompaniment to your favorite grilled meats, sandwiches, or even as a topping for pita bread or crackers. It’s cool creaminess and refreshing flavors will elevate any meal and leave your taste buds satisfied